Description:
This blog explores the key stages in the 3D modeling process, from concept to final render. Learn how professionals approach Steps in the 3D Modeling Process through a structured workflow that brings ideas to life in digital form.
Introduction
Steps in the 3D Modeling Process has revolutionized the way we design, develop, and visualize ideas. From architecture to video games, product development to animation, 3D models serve as the digital foundation for innovation across industries. But how does a simple idea evolve into a detailed 3D structure? The answer lies in a structured workflow known as the Steps in the 3D Modeling Process.
Whether you’re a beginner aiming to understand the basics or a professional looking to streamline your workflow, understanding each step in this process is crucial. This blog outlines the key Steps in the 3D Modeling Process, explaining what happens at each stage, what tools are commonly used, and how professionals ensure high-quality results.
Step 1: Concept and Reference Gathering
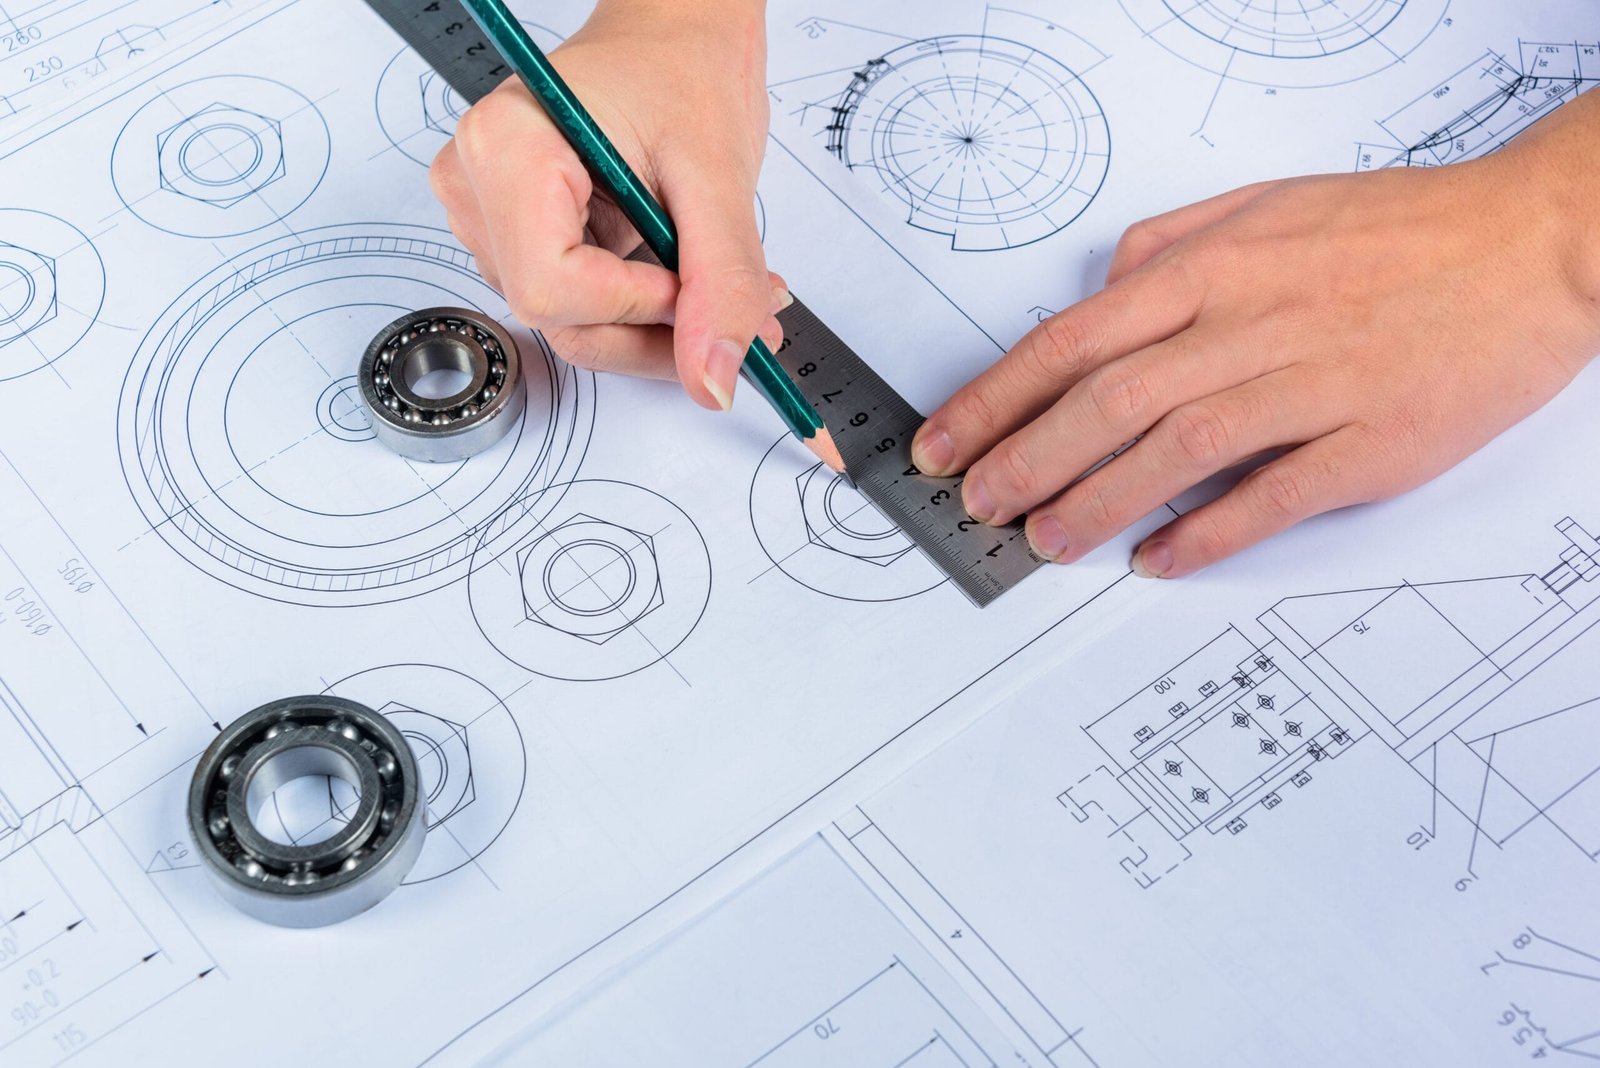
Before a single polygon is created, the modeling process begins with an idea. This idea must be visualized, studied, and supported with reference materials.
Key Tasks:
- Define the purpose of the model (e.g., product, character, architecture).
- Gather reference images, sketches, blueprints, or physical samples.
- Identify the target platform or usage (e.g., 3D printing, animation, AR/VR, engineering).
References guide scale, proportions, and design elements. This step ensures that the modeling will be accurate and relevant to the intended goal.
Tools Used:
- Sketching software (Photoshop, Procreate)
- Concept boards (Pinterest, PureRef)
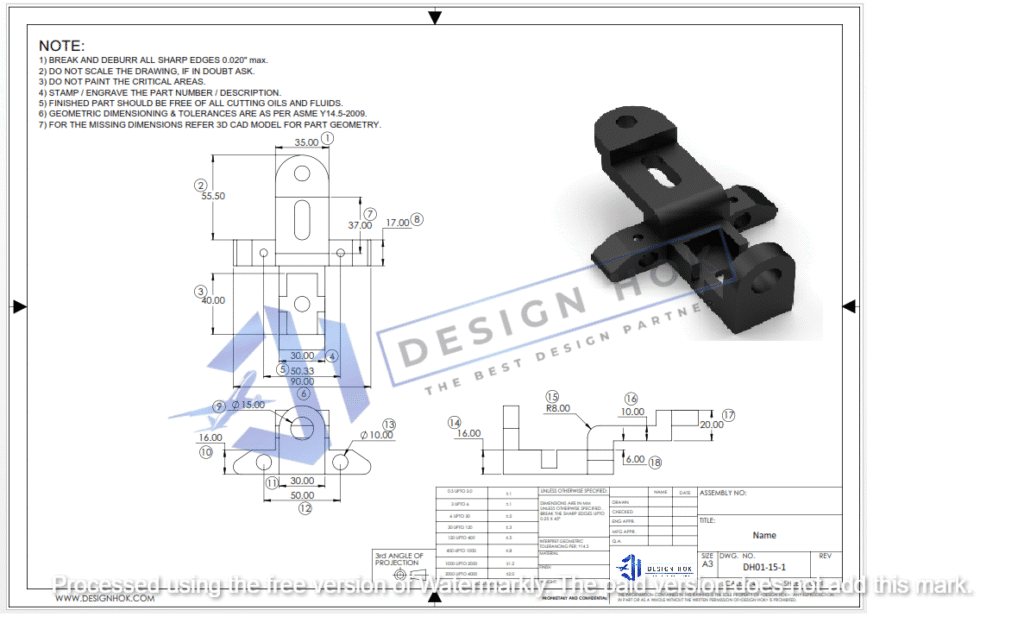
Step 2: Blocking or Base Modeling
The next step is blocking, which involves creating simple geometric shapes to establish the basic structure of the model. This is like outlining a drawing before adding detail.
Key Tasks:
- Use basic shapes (cubes, spheres, cylinders) to represent parts of the model.
- Focus on volume, size, and proportions—not detail.
- Establish the silhouette of the model.
This stage helps modelers visualize how the object will look in 3D space and allows for easy adjustments before diving into finer details.
Tools Used:
- Blender
- Autodesk Maya
- 3ds Max
- Tinkercad (for beginners)
Step 3: Detailed Modeling
Once the base shape is confirmed, modelers start refining it by adding detailed geometry. This is where the bulk of the work happens.
Key Tasks:
- Add edge loops, extrusions, and bevels to define the shape.
- Focus on topology and polygon flow to maintain smooth surfaces.
- Include small features like bolts, creases, folds, and grooves.
In this stage, precision is important—especially for models that require mechanical accuracy or realistic deformation in animation.
Techniques:
- Subdivision Modeling for smooth, organic shapes.
- Hard Surface Modeling for mechanical or industrial designs.
- Sculpting for character details and complex surfaces.
Step 4: UV Mapping and Unwrapping
Before applying textures to a model, its surface needs to be flattened into a 2D layout through a process called UV unwrapping. Think of it like unfolding a cardboard box so it lays flat.
Key Tasks:
- Mark seams along logical edges.
- Unwrap the 3D model into a 2D plane.
- Pack UV islands efficiently to minimize stretching and distortion.
UV mapping is crucial for clean texturing. A poorly unwrapped model can cause textures to appear stretched or misaligned.
Tools Used:
- Blender UV Editor
- RizomUV
- Maya’s UV Toolkit
Step 5: Texturing and Shading
With the UV map in place, textures can be applied to give the model its visual appearance—color, material, patterns, wear, and more.
Key Tasks:
- Create or apply textures (diffuse, normal, specular, roughness maps).
- Use shaders to define how surfaces interact with light.
- Paint directly on the model or use image-based textures.
Textures bring life and realism to the model. Whether it’s a shiny metal part or the weathered surface of an old wall, textures convey material properties.
Tools Used:
- Adobe Substance Painter
- Quixel Mixer
- GIMP or Photoshop
- Blender Shader Editor
Step 6: Rigging (If Applicable)
If the model is meant to move—like a character or a robotic arm—it needs a digital skeleton. This process is called rigging.
Key Tasks:
- Create a bone structure (armature).
- Bind the mesh to the skeleton.
- Define weight painting for smooth movement.
- Add control handles for animation.
Rigging prepares the model for animation by defining how it bends, rotates, or moves.
Tools Used:
- Blender Rigify
- Autodesk Maya HumanIK
- Mixamo (auto-rigging)
Step 7: Lighting and Rendering
Lighting plays a crucial role in how your 3D model looks in its final output. Proper lighting and rendering showcase the details, depth, and realism of your work.
Key Tasks:
- Set up a lighting environment (HDRI, point lights, area lights).
- Choose the best camera angles.
- Adjust render settings (samples, resolution, denoising).
- Export still images or animations.
Rendering is the final output phase, producing high-resolution images or sequences used in presentations, videos, or games.
Tools Used:
- Blender (Cycles and Eevee)
- Arnold (Autodesk Maya)
- KeyShot
- V-Ray
Step 8: Post-Processing and Final Touches
After rendering, minor adjustments can be made to enhance the final look.
Key Tasks:
- Color correction
- Exposure adjustment
- Add effects like bloom, lens flares, or depth of field
- Combine render passes (shadow, ambient occlusion, reflection)
Post-processing ensures your final image or animation is polished and visually appealing.
Tools Used:
- Adobe Photoshop
- After Effects
- Blender’s Compositor
Conclusion
The Steps in the 3D Modeling Process is more than just shaping digital objects—it’s a complex, creative workflow involving planning, geometry, materials, and presentation. Each step plays a vital role in achieving a polished, professional result. Whether you’re modeling for design, marketing, film, or manufacturing, following a structured process ensures quality and consistency.
At DesignHok, understanding this end-to-end process allows for high-performance models that meet client specifications and industry standards. With the right tools and workflow, even the most complex ideas can be turned into striking 3D visualizations.
FAQs: Steps in 3D Modeling Process
Q1: How long does it take to create a 3D model?
It depends on complexity. A simple object may take a few hours, while detailed models can take several days or weeks.
Q2: What is the most important step in 3D modeling?
All steps matter, but detailed modeling and UV/texturing often determine how realistic and functional the model is.
Q3: Can I skip UV mapping?
Only if the model won’t be textured (e.g., for 3D printing). Otherwise, skipping UVs leads to poor texture results.
Q4: What’s the difference between sculpting and modeling?
Sculpting involves shaping models like digital clay (ideal for organic forms), while modeling uses polygon editing and geometry tools (better for hard surfaces).
Q5: Is Blender good for the full 3D modeling process?
Yes. Blender supports modeling, UV mapping, texturing, rigging, rendering, and more—all in one package.
Q6: Do I need to know programming for 3D modeling?
Not for general modeling. However, scripting can automate tasks or build tools, especially in large projects.


