Introduction
Mastering 2D Technical Drawings 2D technical drawings remain an essential tool in various industries, from architecture to engineering. This guide provides a detailed, step-by-step process on how to create accurate and professional 2D technical drawings, suitable for beginners. Learn the importance of precision, tools, and best practices for producing clear and effective drawings that communicate design ideas efficiently.
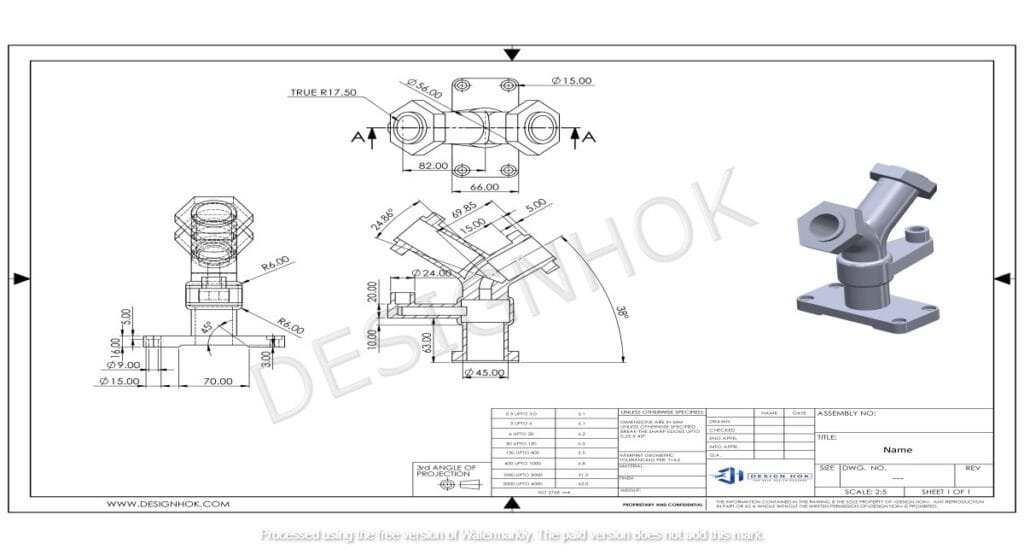
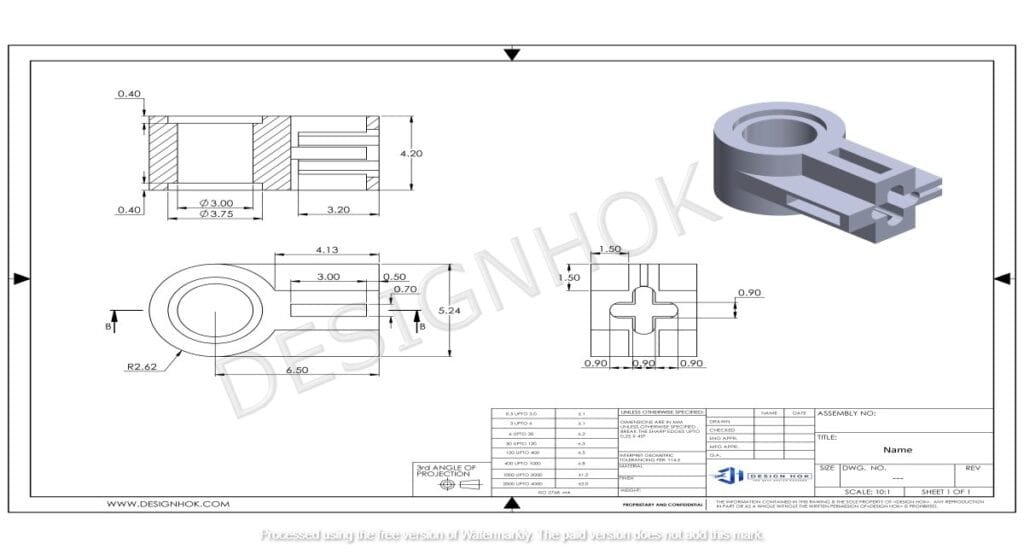
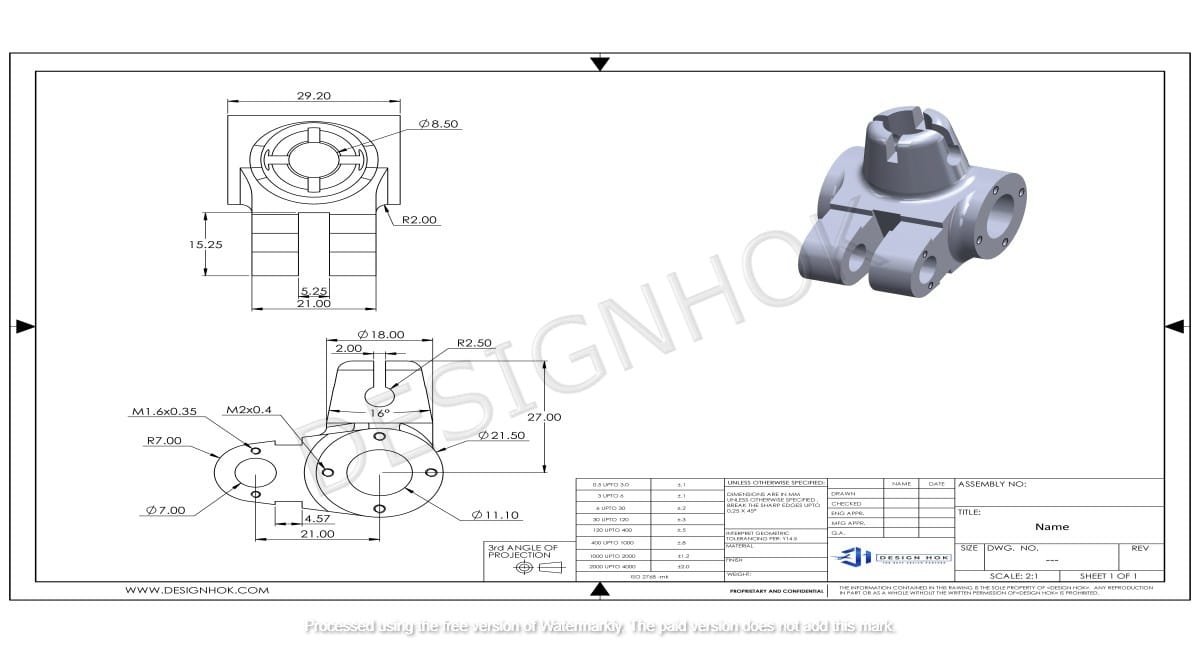
Mastering 2D Technical Drawings are vital for visualizing ideas and ensuring accurate production. Despite the advancements in 3D modeling, 2D drawings continue to hold their ground due to their clarity and simplicity. They provide a detailed view of objects from multiple angles, showing dimensions, annotations, and technical details that are critical in manufacturing and construction. If you are new to 2D technical drawings, here’s a step-by-step guide on how to create them effectively.

Understanding the Basics of Mastering 2D Technical Drawings
Before diving into the creation process, it’s essential to understand what a 2D technical drawing entails. These drawings represent objects in two dimensions, showing the length and width, often viewed from different angles (top, front, side). Unlike artistic sketches, 2D technical drawings focus on accuracy and include essential details such as dimensions, materials, tolerances, and other specifications. They serve as blueprints for engineers, manufacturers, and architects to bring designs to life.
Choose the Right Tools
Mastering 2D Technical Drawings can be done either by hand or using software. While traditional hand drawings can still be valuable, most professionals today prefer using CAD (Computer-Aided Design) software like AutoCAD, SolidWorks, or SketchUp. These tools offer precision, easy modifications, and allow you to save and share your work digitally.
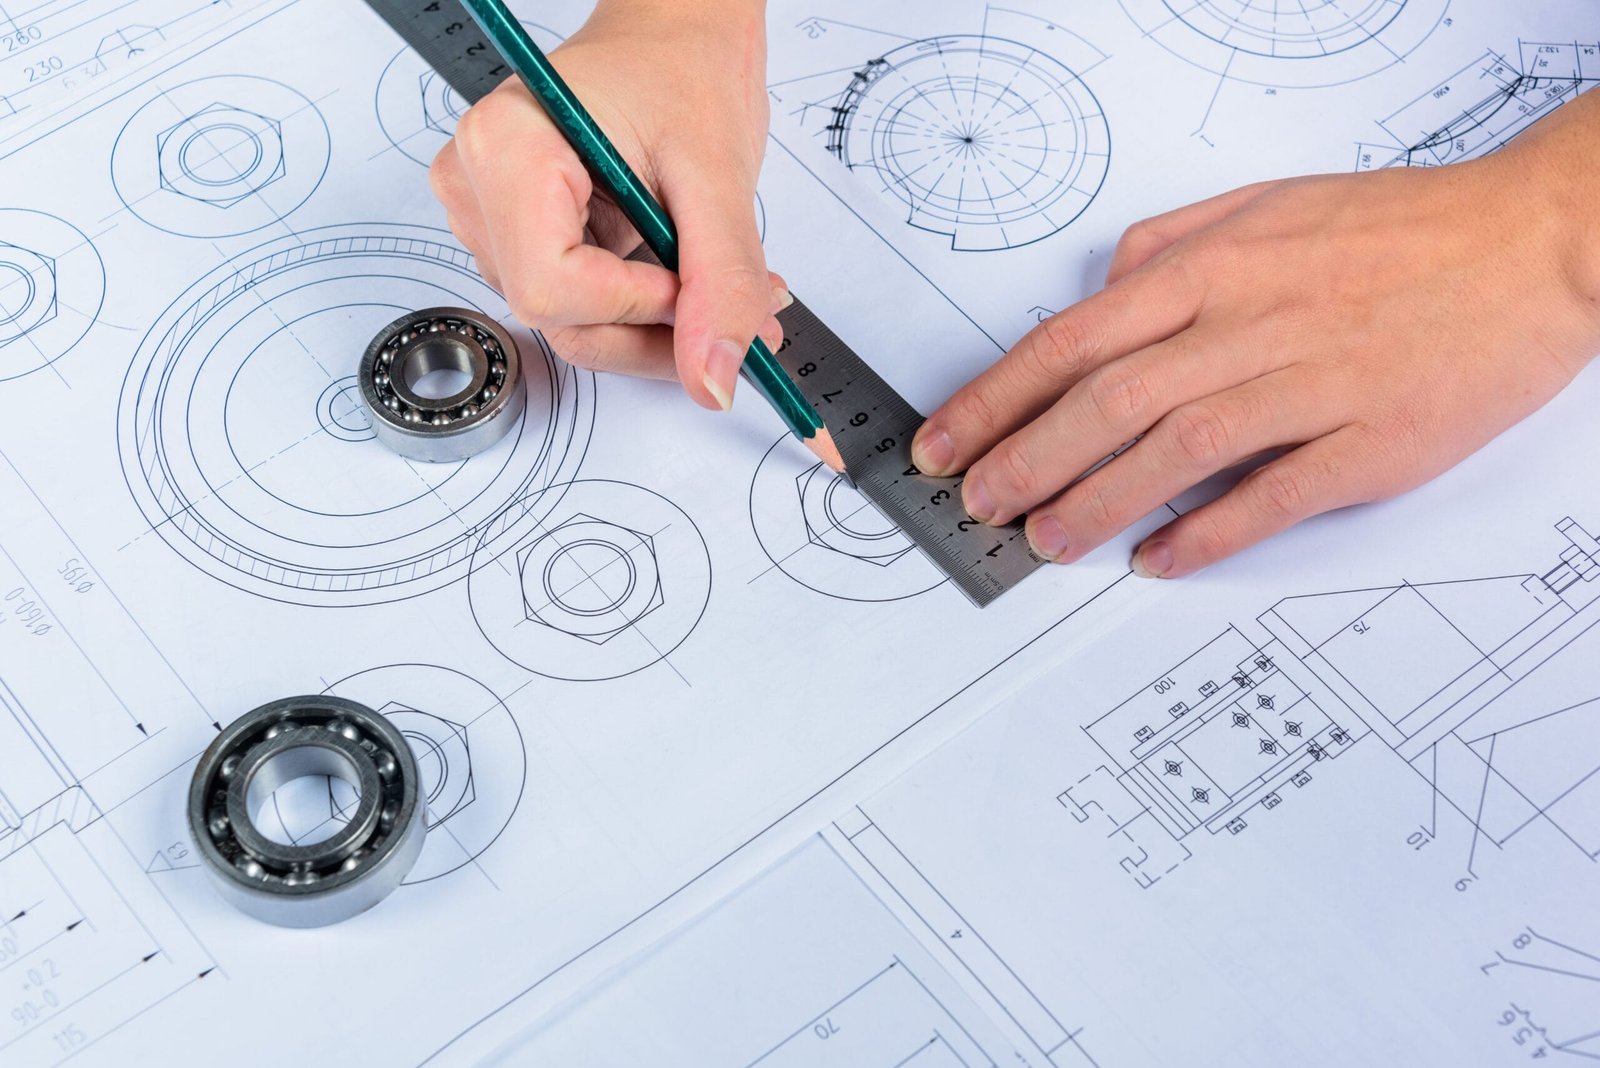
- Hand-drawn tools: Pencil, ruler, compass, protractor, and graph paper.
- CAD software tools: AutoCAD, DraftSight, Fusion 360, or similar design platforms.
Using CAD software is highly recommended as it provides accuracy and flexibility in modifying your designs. For beginners, AutoCAD is a popular choice due to its user-friendly interface and vast range of tutorials available online.
Start with a Basic Layout
The layout of your 2D drawing will depend on the object you’re drawing. Start with the main views: typically, these include the top view, front view, and side view. For simple objects, these views will provide enough information for anyone interpreting the drawing. Each view should be placed on a different section of the paper or screen to avoid confusion.
When positioning views, make sure the relationships between them are accurate. For example, the side view should correspond to the height and depth shown in the top and front views. A clean, well-organized layout is crucial for readability.
Add Dimensions and Annotations
Once the layout is in place, the next step is to add dimensions and annotations. These details are critical for ensuring that anyone using the drawing can understand the exact size and characteristics of the object.
- Linear dimensions: Indicate the length, width, and height of the object.
- Angles: Specify any angular measurements for slanted surfaces.
- Tolerances: Provide allowable variations in measurements if necessary.
- Annotations: Notes on materials, surface finishes, or special instructions.
It’s important to be consistent with your units (inches, millimeters, etc.) and use standardized symbols where necessary. Always keep in mind that clarity is key when adding annotations, as too much information in one place can make the drawing difficult to read.

Incorporate Line Types and Symbols
Line types are an integral part of Mastering 2D Technical Drawings, as they represent different features of the object. Understanding the various line types and using them correctly will help in conveying the right information.
- Continuous lines: Used to show visible edges of the object.
- Dashed lines: Indicate hidden features or edges that are not visible in the view.
- Center lines: Represent symmetry or axes of rotation.
- Dimension lines: Used to define the dimensions of the object.
Symbols are also used in technical drawings to indicate certain features such as diameters, radii, or surface textures. These standardized symbols are essential for communicating detailed technical information without cluttering the drawing with text.
Review and Revise Your Drawing
Once the drawing is complete, it’s important to review it carefully. Look for any mistakes or areas where the drawing could be made clearer. You may need to revise dimensions, adjust the layout, or add more annotations to ensure the drawing is easily understood by others. In professional settings, technical drawings often go through several rounds of revisions before they are finalized and approved.
Conclusion
Mastering 2D Technical Drawings requires precision, attention to detail, and a solid understanding of drafting conventions. By following these steps—choosing the right tools, laying out views, adding dimensions and annotations, using correct line types, and reviewing your work—you can produce clear and accurate 2D drawings. These drawings are essential for bringing designs to life, helping engineers, manufacturers, and architects understand the intricacies of a design. As you continue to practice and refine your skills, you’ll gain confidence in producing professional-quality technical drawings.
FAQ:
Q1: Why are 2D technical drawings still important today?
A1: Despite the rise of 3D modeling, 2D technical drawings are still essential because they provide detailed, clear views that are easy to interpret. They are used extensively in industries such as manufacturing and construction, where precise measurements and clear communication are critical.
Q2: What tools do I need to create 2D technical drawings?
A2: You can create 2D technical drawings by hand using tools like pencils, rulers, and compasses, or digitally using CAD software like AutoCAD or SketchUp. CAD software is highly recommended for beginners due to its accuracy and ease of use.
Q3: How can I improve the accuracy of my 2D drawings?
A3: To improve accuracy, use proper tools, follow drafting conventions, and double-check your dimensions and annotations. CAD software also offers features like snapping and scaling that help ensure precision.
Q4: What are some common mistakes to avoid in 2D technical drawings?
A4: Common mistakes include incorrect dimensions, unclear annotations, overcrowded layouts, and improper use of line types. Reviewing your work and following drafting standards can help avoid these errors.
Q5: Can I convert 2D technical drawings to 3D models?
A5: Yes, many CAD programs allow you to create 3D models from 2D technical drawings. This process can help visualize the object more effectively and ensure that the design is functional before production.


Aw, this was a really good post. Finding the time and actual effort to
generate a superb article… but what can I say… I hesitate
a whole lot and don’t manage to get anything done.
Equilibrado de piezas
El equilibrado constituye un proceso fundamental en las tareas de mantenimiento de maquinaria agricola, asi como en la produccion de ejes, volantes, rotores y armaduras de motores electricos. Un desequilibrio provoca vibraciones que aceleran el desgaste de los rodamientos, provocan sobrecalentamiento e incluso llegan a causar la rotura de componentes. Con el fin de prevenir fallos mecanicos, resulta esencial identificar y corregir el desequilibrio de forma temprana utilizando tecnicas modernas de diagnostico.
Principales metodos de equilibrado
Existen varias tecnicas para corregir el desequilibrio, dependiendo del tipo de componente y la intensidad de las vibraciones:
El equilibrado dinamico – Se utiliza en componentes rotativos (rotores, ejes) y se lleva a cabo mediante maquinas equilibradoras especializadas.
El equilibrado estatico – Se emplea en volantes, ruedas y piezas similares donde basta con compensar el peso en un solo plano.
La correccion del desequilibrio – Se lleva a cabo mediante:
Taladrado (retirada de material en la zona de mayor peso),
Instalacion de contrapesos (en ruedas y aros de volantes),
Ajuste de masas de equilibrado (como en el caso de los ciguenales).
Diagnostico del desequilibrio: equipos utilizados
Para detectar con precision las vibraciones y el desequilibrio, se utilizan:
Equipos equilibradores – Miden el nivel de vibracion y definen con precision los puntos de correccion.
Analizadores de vibraciones – Registran el espectro de oscilaciones, detectando no solo el desequilibrio, sino tambien fallos adicionales (como el desgaste de rodamientos).
Sistemas laser – Se emplean para mediciones de alta precision en componentes criticos.
Las velocidades criticas de rotacion requieren especial atencion – condiciones en las que la vibracion se incrementa de forma significativa debido a fenomenos de resonancia. Un equilibrado correcto previene danos en el equipo en estas condiciones de funcionamiento.