Description:
Explore how Inventor 3D Rendering boosts design quality and client engagement for DesignHok. Learn about its features, benefits, and real-world applications in mechanical and engineering design projects.
Introduction
In today’s competitive design industry, visual clarity is essential. Clients no longer rely solely on technical blueprints—they expect realistic visuals that showcase what a final product will look like. That’s where Inventor 3D Rendering comes into play. At DesignHok, we leverage Autodesk Inventor’s powerful rendering tools to transform raw 3D models into photorealistic visuals, enabling our clients to visualize, refine, and approve designs with confidence.
This blog explores the use of Inventor 3D rendering at DesignHok, detailing its benefits, workflow, applications, and how it empowers clients to make better design decisions.
What is Inventor 3D Rendering?
Inventor 3D Rendering is a feature in Autodesk Inventor that creates high-quality, lifelike images from 3D CAD models. It uses materials, lighting, reflections, and shadows to make the model look as realistic as possible. Whether it’s a machine component or a full assembly, rendering turns a digital concept into a tangible visual preview.
At DesignHok, we use this capability to enhance our 3D Modeling Projects and Mechanical Design Projects, ensuring our clients get a realistic sense of the final product before production begins.
Why DesignHok Uses Inventor for 3D Rendering
There are several CAD tools available, but Autodesk Inventor offers distinct advantages, especially for engineering and mechanical applications. Here’s why it fits perfectly into the workflow at DesignHok:
- Engineering-Grade Accuracy:
Inventor was built for engineers. Its rendering tools respect the exact dimensions, tolerances, and constraints set during the modeling phase, ensuring visual fidelity without compromising design intent. - Built-in Visualization Tools:
Inventor includes integrated rendering engines that allow quick and seamless switching between modeling and visual presentation. - Material Library:
Inventor provides a robust material library. At DesignHok, we apply real-world materials—metal, plastic, glass, etc.—to our models to achieve lifelike textures in renderings. - Custom Lighting and Environment:
Inventor lets us customize the environment for each render. This includes light sources, shadows, and even reflections, helping portray the product in various real-world scenarios.
The DesignHok Rendering Workflow
Here’s a breakdown of how DesignHok uses Inventor 3D rendering in client projects:
Step 1: 3D Modeling
Everything starts with an accurate 3D model. Our engineers and designers build the structure in Inventor with precision. This model serves as the foundation for the rendering.
Step 2: Apply Materials and Textures
We then apply materials from Inventor’s library or import custom textures. This step ensures the rendered model visually reflects the real-world object.
Step 3: Set Up Environment and Lighting
Lighting plays a vital role in rendering quality. Our team sets up the lighting and camera views to highlight the model’s most important features.
Step 4: Final Rendering
Using Inventor’s rendering engine, we generate high-resolution images. We can also create animations and exploded views to communicate functionality.
Step 5: Client Review
We share the rendered visuals with clients, helping them visualize the final product clearly. If adjustments are needed, we refine the model and re-render.
Benefits of Inventor 3D Rendering at DesignHok
1. Improved Client Communication
Renderings simplify complex designs, making it easier for non-technical stakeholders to understand and evaluate a project.
2. Faster Approvals
High-quality visuals allow quicker decision-making. Clients are more confident in signing off when they can clearly see what they’re approving.
3. Error Reduction
Visuals can reveal issues that might not be apparent in wireframes or technical drawings—such as fit, aesthetics, or component clashes.
4. Enhanced Marketing & Presentations
Rendered images are perfect for presentations, marketing materials, and product documentation. Clients can use them for investor pitches, sales tools, or production planning.
5. Time and Cost Savings
By identifying design flaws early, Inventor 3D rendering helps avoid costly revisions later in the production phase.
Real-World Applications at DesignHok
Inventor 3D Rendering is widely used across DesignHok’s service areas:
- Mechanical Design Projects: We render everything from industrial machines to complex tools.
- 3D Modeling Projects: Our team creates accurate models and turns them into client-ready visuals.
- 3D Rendering Projects: We deliver still images, exploded views, and animated walkthroughs.
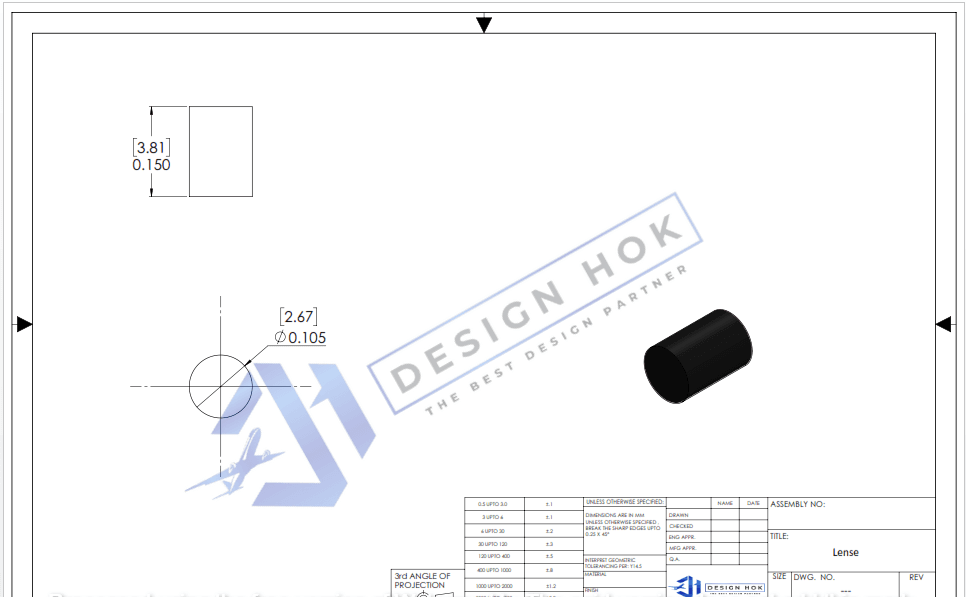
- 2D Drafting to 3D Rendering: We convert 2D CAD files into full 3D renderings for better visualization.
From concept to production, Inventor rendering bridges the gap between ideas and reality.
Tips for Effective Inventor Rendering
If you’re exploring Inventor rendering yourself, here are a few tips from our DesignHok experts:
- Use High-Resolution Textures for photorealistic results.
- Experiment with Lighting to bring out details and shadows.
- Use Depth of Field to give renders a professional look.
- Create Multiple Angles so clients can see the design from all perspectives.
- Use Section Views and Exploded Views to show interior features and assemblies.
Conclusion
Inventor 3D rendering is more than just a visual aid—it’s a communication tool, a problem-solver, and a design enhancer. At DesignHok, we use this technology to help clients clearly visualize their products before they’re built. This not only saves time and money but ensures confidence in every design decision.
By combining engineering precision with visual storytelling, DesignHok transforms complex technical ideas into compelling, easy-to-understand visuals. Whether you need a standalone render or a full design-to-render solution, our team is ready to bring your ideas to life with Inventor 3D rendering.
FAQs
Q1: What is Autodesk Inventor used for in 3D rendering?
Autodesk Inventor is primarily a mechanical design tool, but it also includes built-in rendering features that help convert 3D CAD models into photorealistic images. It’s used to enhance design visualization and client presentations.
Q2: How long does it take to create a 3D render in Inventor?
The time depends on model complexity, rendering quality, and lighting setup. Simple models may take a few minutes, while complex assemblies can take hours to render at high resolution.
Q3: Can Inventor render animations or just still images?
Yes, Inventor can render both still images and animations. DesignHok often uses animation features to show assembly movement or how different parts interact.
Q4: Do clients need special software to view rendered images?
No. Rendered outputs are standard image or video files (e.g., PNG, JPG, or MP4), which can be viewed on any device without special software.
Q5: Why should I choose DesignHok for 3D rendering services?
DesignHok combines technical engineering experience with artistic rendering expertise. We don’t just make things look good—we ensure the rendered visuals reflect accurate, real-world design outcomes.


