Description:
Learn how to create high-quality How to Make a 3D Rendering for DesignHok projects using a step-by-step process. This guide covers everything from concept and modeling to lighting, materials, and final output, ensuring professional results every time.
Introduction
How to Make a 3D Rendering for DesignHok is an essential part of any design process, especially for companies like DesignHok, which specializes in visualizing complex designs for mechanical, architectural, and product-based projects. A well-made 3D rendering not only showcases a design beautifully but also helps clients visualize the final product before it becomes reality.
In this blog, we’ll take a deep dive into how to create an effective How to Make a 3D Rendering for DesignHok from scratch. Whether you’re a beginner or a professional looking to refine your skills, these steps are tailored to deliver clean, realistic, and client-ready renders.

Step 1: Understand the Project Brief
Before you even open your rendering software, you need to understand the design objectives. At DesignHok, projects can range from mechanical components and assemblies to architectural layouts or product visualizations. Each project type comes with unique rendering needs.
Ask these questions:
- What is the purpose of the rendering?
- What style is preferred—photorealistic, conceptual, or stylized?
- What materials, lighting, or environments should be included?
- What resolution and format is needed for the final output?
Having clear goals will save hours of rework.
Step 2: Prepare the 3D Model
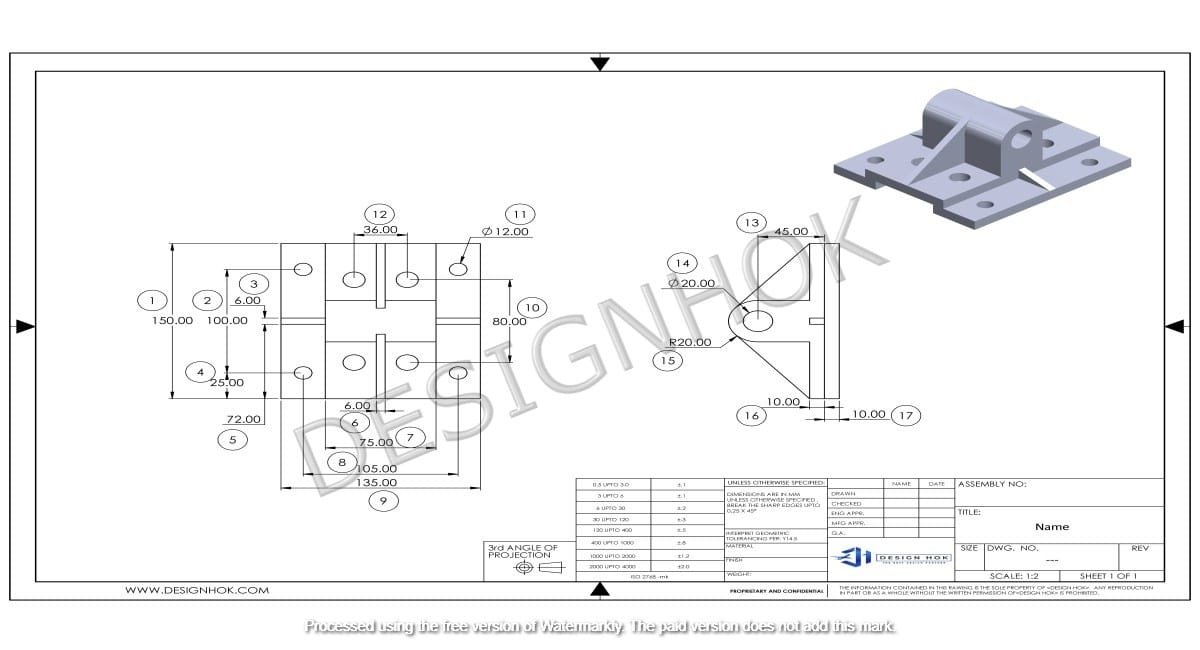
A good How to Make a 3D Rendering for DesignHok. DesignHok often uses software like SolidWorks, AutoCAD, Fusion 360, SketchUp, Rhino, and Blender to develop accurate 3D models. Before you move on to rendering, make sure the model is:
- To scale and dimensionally accurate.
- Free of unnecessary geometry or hidden faces.
- Organized by components or layers (naming helps a lot).
- Exported in a compatible format like OBJ, FBX, or STL.
For architectural renders, models should include all important elements like walls, furniture, landscaping, and details that affect lighting and shadows.

Step 3: Import into Rendering Software
Now it’s time to bring your model into a rendering engine. Common tools include:
- Blender (with Cycles or Eevee)
- KeyShot
- V-Ray (works with SketchUp, 3ds Max, Rhino, etc.)
- Lumion (great for architectural renders)
- Enscape (ideal for real-time rendering)
- Twinmotion (for large-scale environments)
Import your model and check for geometry issues, scaling problems, or misplaced parts. Reassign correct origins and axes to avoid floating objects.
Step 4: Apply Materials and Textures
Materials make your model come alive. Apply appropriate surface textures such as metal, wood, plastic, or glass. For realism, use PBR (Physically Based Rendering) materials, which reflect light accurately.
Tips:
- Use high-resolution textures (at least 2K or 4K).
- Use bump, normal, and displacement maps to add depth.
- Adjust roughness, reflection, and transparency for accuracy.
- Avoid overly shiny or matte finishes unless intended.
At DesignHok, this step is critical for presenting client-specific designs like mechanical parts with chrome finishes or architecture with realistic bricks, tiles, and concrete.
Step 5: Set Up Lighting
Lighting is the secret sauce in rendering. It sets the tone and mood, highlights materials, and makes the render believable. You can use:
- HDRI lighting for natural environment-based light.
- Sun and Sky systems for outdoor scenes.
- Area lights and spotlights for focused, studio-style lighting.
- Emissive materials for lighting from objects like LED panels or bulbs.
Good lighting avoids harsh shadows and overexposure. At DesignHok, realistic shadows and soft light transitions are key to creating client trust in the visual.
Step 6: Compose the Scene
A good render is more than just the object—it’s the full scene. Use thoughtful camera angles, depth of field, and background settings.
Best practices:
- Use the rule of thirds for better composition.
- Set the camera to eye-level for architecture and human-scale products.
- Blur backgrounds slightly to focus attention.
- Use environment models like sky, buildings, or studio setups.
For mechanical renders, DesignHok sometimes adds exploded views, cutaways, or section views to better explain how components work.
Step 7: Render Settings and Output
Now comes the final step—rendering your image or animation.
Key settings:
- Resolution: Use at least 1920×1080 for presentations; 4K for printing or large screens.
- Sampling: Higher samples mean cleaner renders (at least 128–1024 for still images).
- Anti-aliasing: Smoothens edges for a polished look.
- Render passes: Consider breaking the render into lighting, material, and shadow layers for post-processing flexibility.
DesignHok also ensures that all client renderings are delivered in the requested format, such as PNG (for transparency), JPEG (for quick sharing), or EXR/TIFF (for post-editing).
Step 8: Post-Processing (Optional but Recommended)
Post-processing adds that final touch of realism. Use tools like Photoshop, Lightroom, or After Effects to:
- Adjust brightness, contrast, and saturation.
- Add lens flare, vignettes, or depth of field.
- Overlay logos or branding elements.
- Combine multiple render passes for advanced effects.
This is especially useful for marketing visuals, proposal documents, or portfolio pieces.
Conclusion
Creating a high-quality How to Make a 3D Rendering for DesignHok involves a mix of technical skill, creative vision, and attention to detail. By following the steps—planning the project, preparing the model, assigning realistic materials, setting up lighting and composition, and using appropriate software—you’ll be able to produce renderings that not only look beautiful but also serve their purpose.
Whether you’re visualizing a complex mechanical assembly or designing a sleek architectural layout, these practices will ensure that your How to Make a 3D Rendering for DesignHok meet the high standards of DesignHok and exceed client expectations.
FAQs
Q1: What is the best rendering software for beginners working with DesignHok?
A: Blender (with Cycles or Eevee) is free and powerful, making it great for beginners. KeyShot is also very user-friendly for product rendering.
Q2: How long does it take to render a 3D image?
A: It depends on complexity, resolution, lighting, and rendering engine. A simple render might take a few minutes, while high-quality scenes can take hours.
Q3: Can I use SketchUp for rendering at DesignHok?
A: Yes, especially when paired with V-Ray, Enscape, or Lumion. It’s great for architectural and product models that need clean visuals.
Q4: What are PBR materials, and why are they important?
A: PBR (Physically Based Rendering) materials simulate how light interacts with surfaces in the real world, making renders look more realistic.
Q5: Does DesignHok provide animation or only still images in rendering?
A: DesignHok offers both. Depending on the project needs, animations like fly-throughs, rotating views, or mechanical motion can be created alongside still images.


