

Description:
Do you know how to create realistic 3d models? We will tell you the whole method. This means explaining how to do planning, modeling, lighting, and creating your final design. We will make sure that your models appear as real-world objects.
Introduction
You must know how to create real-looking 3D models. If you want to add a touch of reality, then insert textures, lighting, and details like scratches. It does not matter that it is a character, a product mockup, or a building, as realism makes your design look appealing. At Design Hok, our focus is on realism as it helps clients understand the idea clearly.
Step 1: Understanding
The first step is to know why you are creating the model. Are you making it for a game, a product prototype, or an animation? Each model has different needs. So, you will understand the details and texture by first knowing the purpose.
Step 2: Collect References
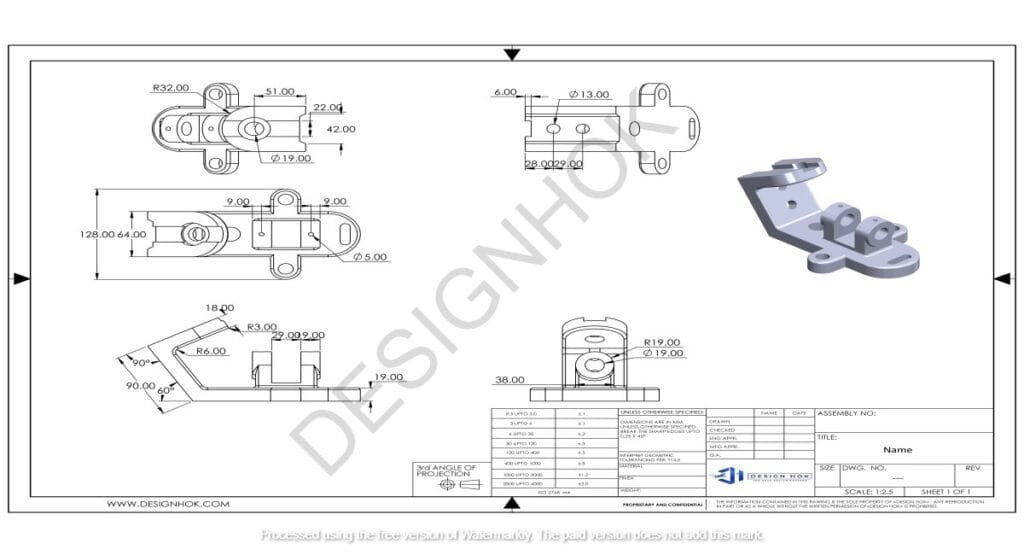
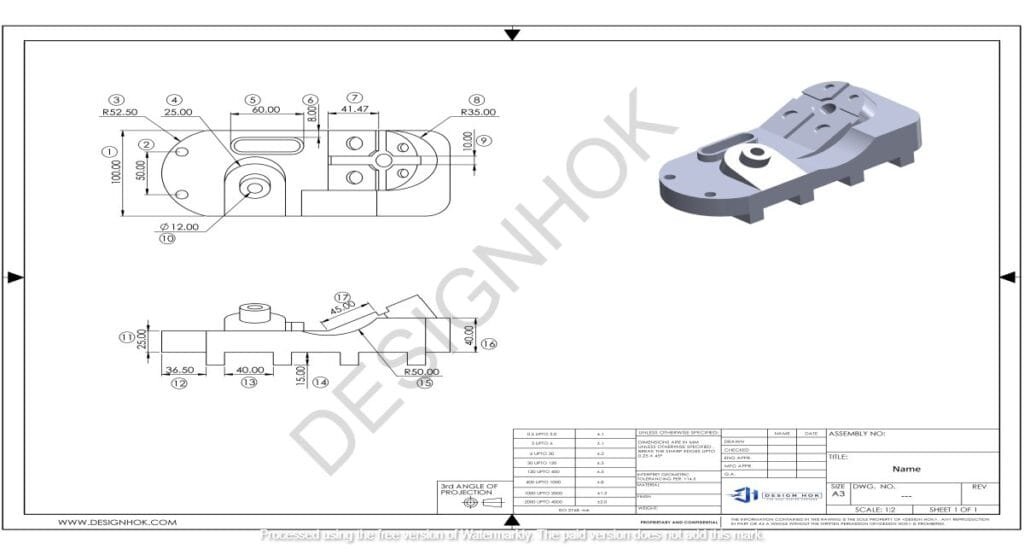
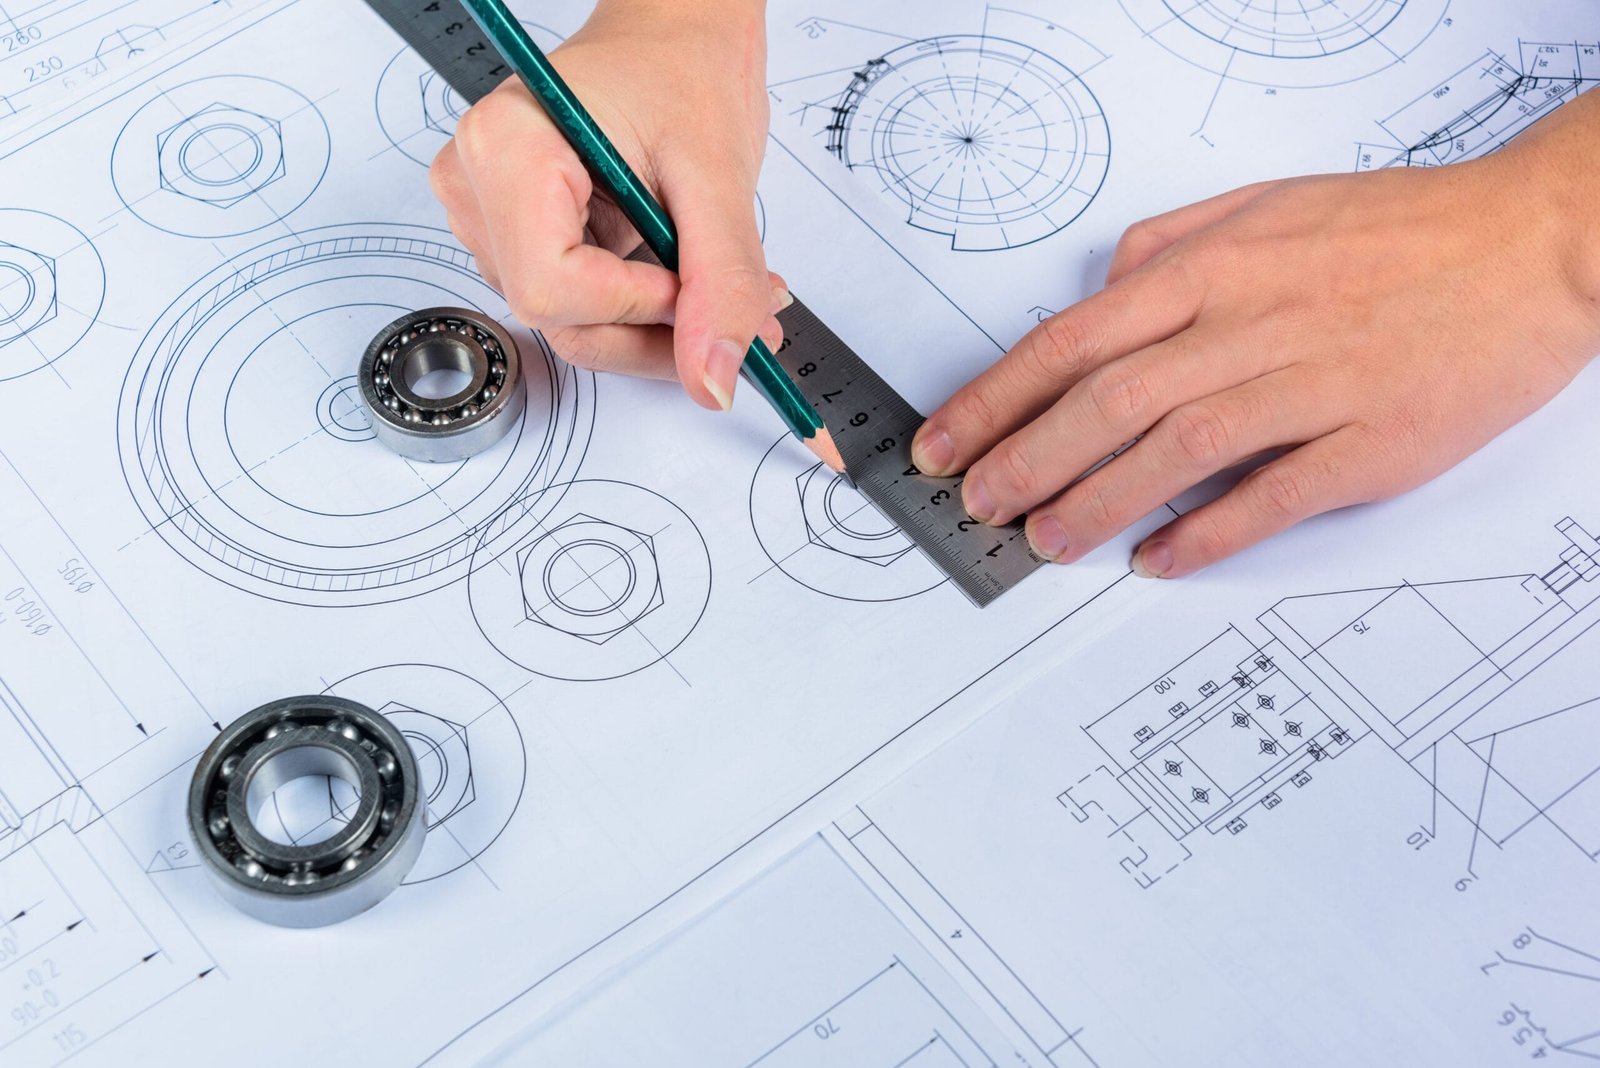
Look at real-life objects. You can use photos, sketches, or blueprints. You must study the shape, texture, and the impact of light on the surface. In order to become better at it, you must observe the tiny details as well. So, small marks such as dust scratches also have a great impact on realism.
Step 3: Choose the Right Software
Good tools make a big difference. Popular ones include:
- Blender
- 3ds Max
- ZBrush
- Substance Painter
So, you can choose based on your project type.
Step 4: Start with a Solid Base Model
You have to start simple. Use basic shapes, then refine. Add details step by step. Clean, smooth models always look better. After that, make them better step-by-step to match your reference. You must keep your mesh tidy. This is because adding textures becomes easier on a smooth and organized model.
Step 5: Apply High-Quality Textures
Your model appears real with the addition of textures. You can use proper mapping to prevent images from stretching. Your aim should be on the details like color, dents, roughness, etc. A number of tools create natural textures, like Substance Painter or Quixel.
Step 6: Add Details
You must focus on the details for a realistic touch. This can be done by adding scratches, fingerprints, or dents. So, these changes make your model appear real.
Step 7: Use Realistic Lighting
Lighting can have a significant impact on your model. You must use natural setups or HDRI images. Soft shadows and light bouncing result in the model looking real.
Step 8: Create Final Image and Edit
Now, create a final image of your model. After that, check the details like colors, depth, and effects. This can be done using editing tools like Photoshop. So, slight changes can result in your final image looking amazing.
Step 9: This step involves reviewing and improving
You can compare your model with real photos. Does it look realistic in light? Also, check whether the textures are sharp or not. So, just correct what is not looking real to you. You just have to do testing and refining for realistic 3D modeling.
Tips on How to Create Realistic 3D Models
- Start from a holistic view and then move to the details
- Use high-quality textures.
- Avoid perfect symmetry—real life isn’t flawless.
- Always work to scale.
- You have to learn from photography and lighting.
Conclusion
Finally, it is all about patience and practice to learn how to create realistic 3d models. You have to go through each step to learn it. At Design Hok, we make sure that our projects are made to thrive in the real world. Moreover, our designs are clear and convincing
FAQs: How to Create Realistic 3D Models
Q1: Which is the best software to use?
The best software to use is Blender. This is because it is both cost-effective and powerful.
Q2: Why are textures so important?
You can make the surface look real, like shiny for metals or rough for wood or other objects. So, your models would not appear appealing without textures.
Q3: Do I need sculpting skills?
You do not require these skills for all types of projects. Only the projects with faces, creatures etc, need sculpting to add details.
Q4: What is PBR texturing?
You can make textures appear real under light using this method.
Q5: Can I create realistic models with just Blender?
Sure, you can create a whole model using Blender.
Q6: What is the time period to learn it?
If you practice consistently, then you can become better within months.
Q7: How do I get better?
In order to improve, you must understand real-world objects and practice regularly. You can also get feedback from others.


Whats up very nice website!! Guy .. Excellent .. Superb .. I will bookmark your web site and take the feeds additionally…I am glad to find a lot of useful information right here within the put up, we need work out extra strategies on this regard, thanks for sharing. . . . . .