
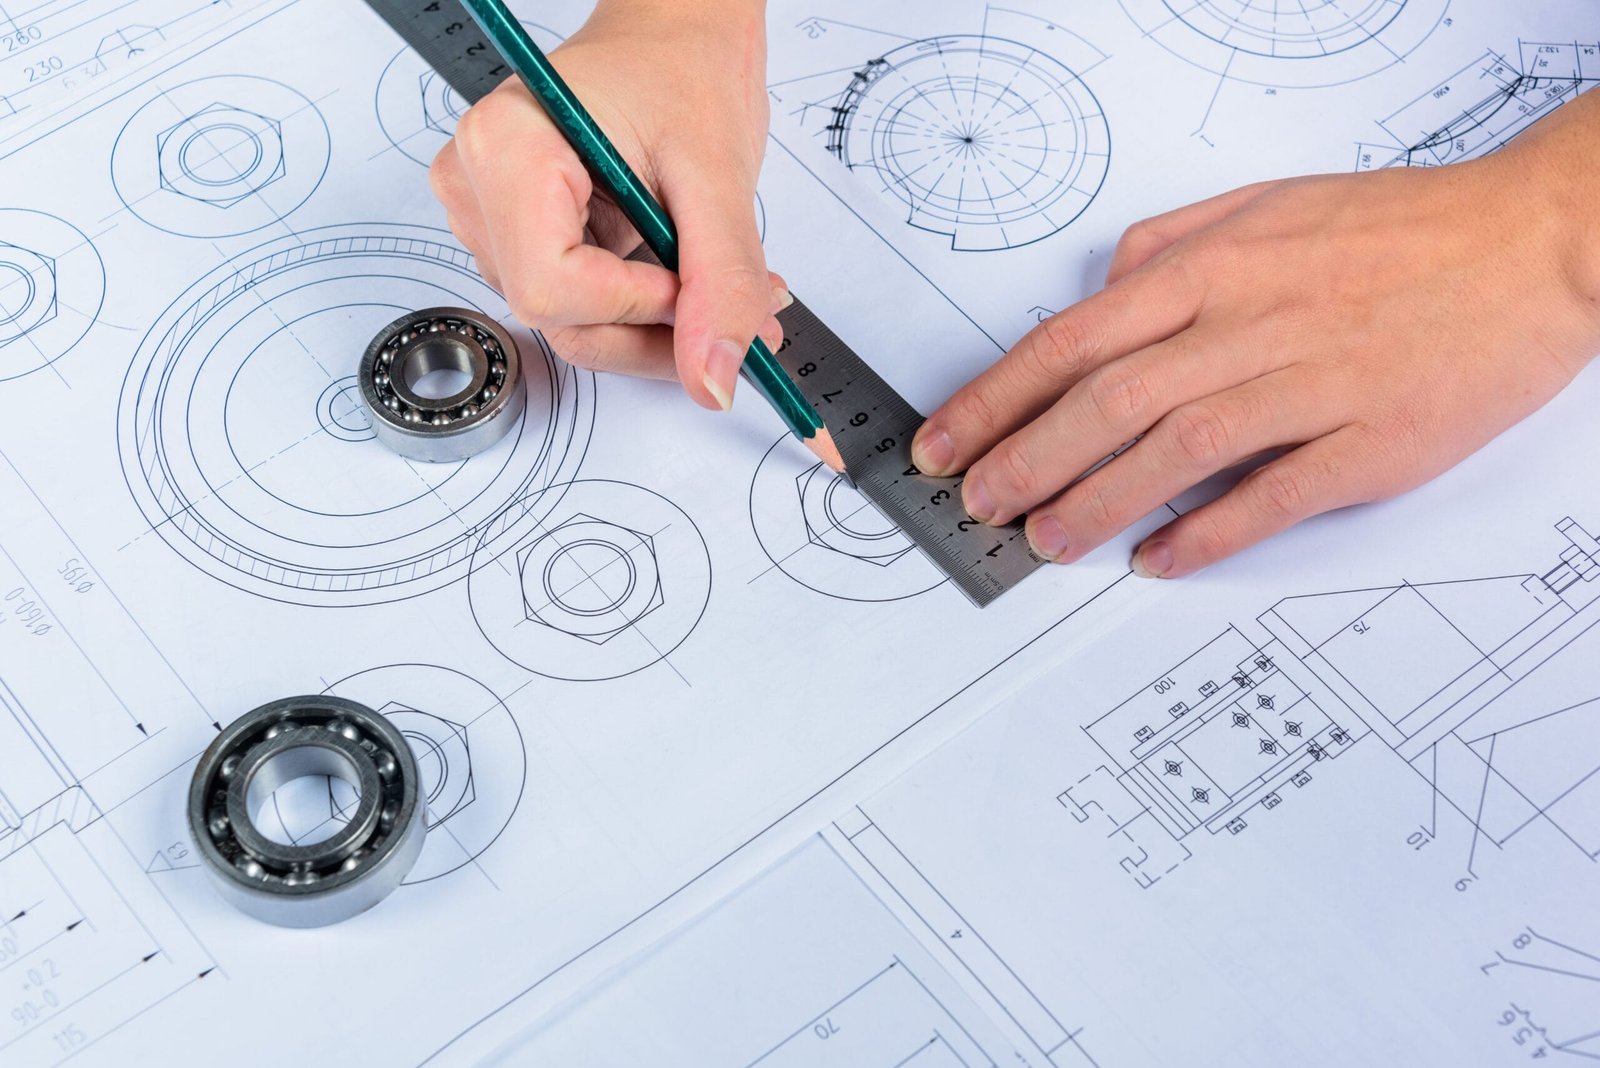
Today, you have to represent your designs and ideas accurately. So, you have to create 2D technical drawings to show your designs accurately and precisely. Now we will discuss the steps to make precise and clear 2D technical drawings, which provide you with practical suggestions for beginners and professionals alike.
Engineering, architecture, and design could not thrive without technical drawings. They allow these people to show their drawings in a detailed and accurate way. Nowadays, modern technology is mostly tilted towards 3d modeling, 2D drawings, which makes their drawings more accurate. It does not matter that you are a beginner or an experienced person, as we will guide you on how to create 2d technical drawings.
Understanding 2D Technical Drawings
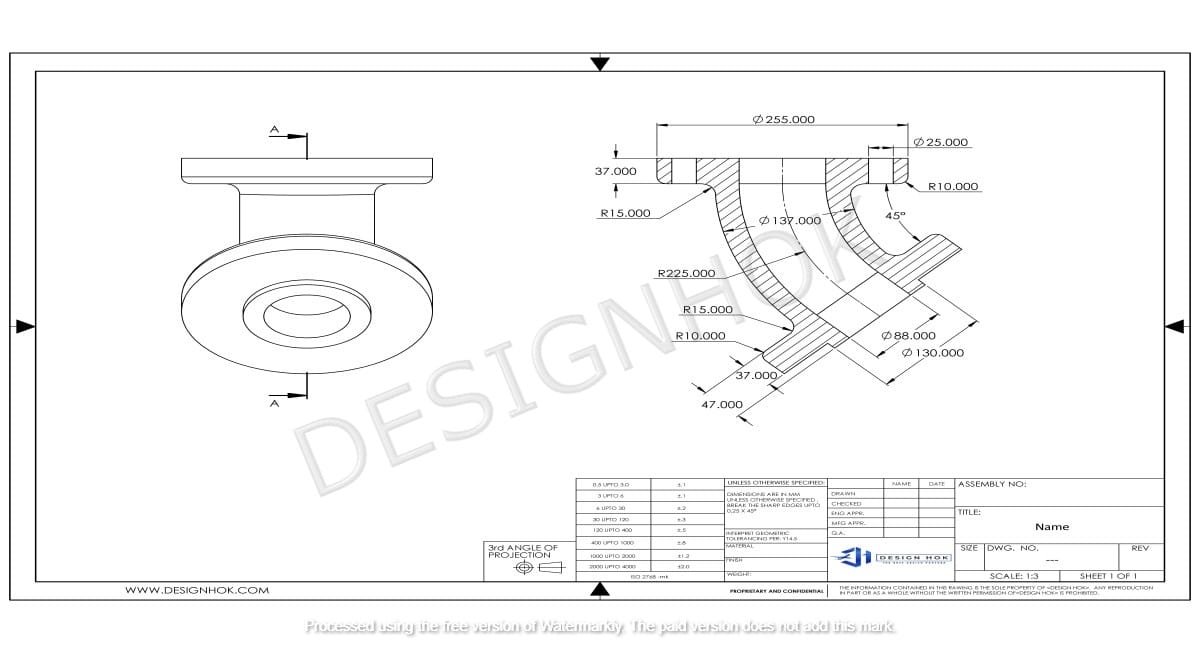
You first have to understand what a 2D technical drawing is. After that, we will move on to create a 2d technical drawing. You represent objects in a flat or two-dimensional form when you create a 2d drawing. You cover the top, side, and front regions in this drawing. Your goal is to show accurate measurements, materials, and details in the drawing.
You create 2D technical drawings in various software such as AutoCAD, SolidWorks, etc. However, the basic steps of creation are the same whichever software you use.
Step 1: Identify the Purpose of the Drawing
When you are going to create a 2d technical drawing then first know your purpose. Is it for manufacturing purposes, reviews, or construction? Your goal will decide the details and view requirements, and dimensions of the drawing. A technical drawing requires in-depth measurements and details as compared to a simple sketch.
After knowing the purpose of the drawing, you are able to figure out which views are required for better clarity.
Step 2: Gather Essential Tools and Software
You can create 2d technical drawings using special software like AutoCAD, SolidWorks, or DraftSight. You get all the necessary tools with this software to create 2d technical drawings. So, you can do precise scaling, dimensioning, and linework using these tools. In case you want to do manual work, then you need tools like T-squares, protractors, and compasses.
You have to understand the functionality of the software and tools that you use. The latest software allows you to do dimensioning, adjustments, and layer management. This helps in maintaining clarity and accuracy.
Step 3: Begin with Basic Shapes
We know that every technical drawing begins with basic shapes. You just have to outline the structure using the basic shapes like rectangles or circles. In this step, you make the basic structure of the design. Moreover, you make sure that your dimensions are accurate. You have to keep in mind that accuracy is important for the final drawing.
You should first draw a template when using software. You must make sure that your units are correct.
Step 4: Add Dimensions
When you create 2d technical drawings, you have to make sure that the dimensions are accurate and clearly drawn. You have to start adding dimensions after the basic mapping of the design. This helps to understand the size of each feature. You also need annotations for noting down materials, processes, and other instructions.
You must follow the basic rules of making dimensions. You should not clutter your work and keep your drawing simple and easy.
Step 5: Incorporate Multiple Views
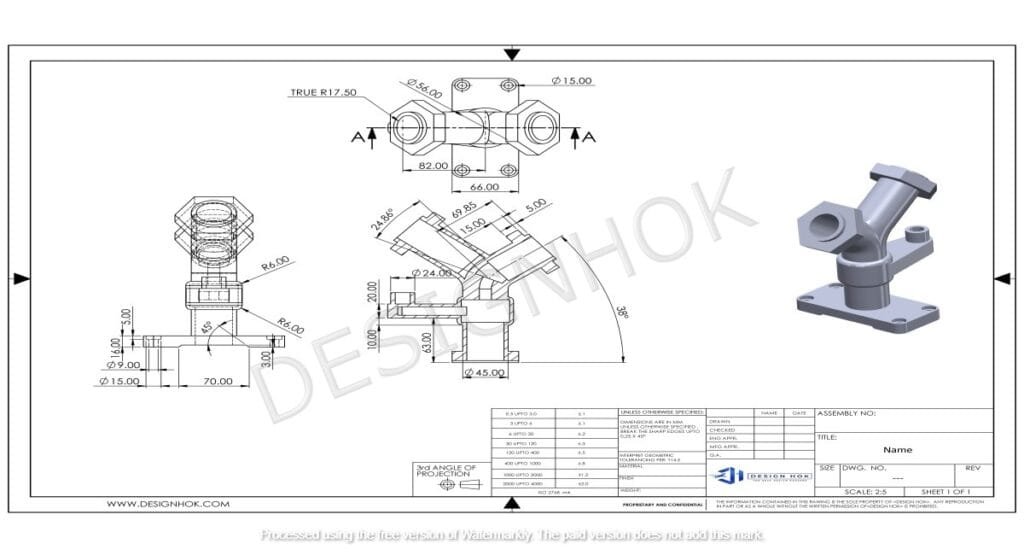
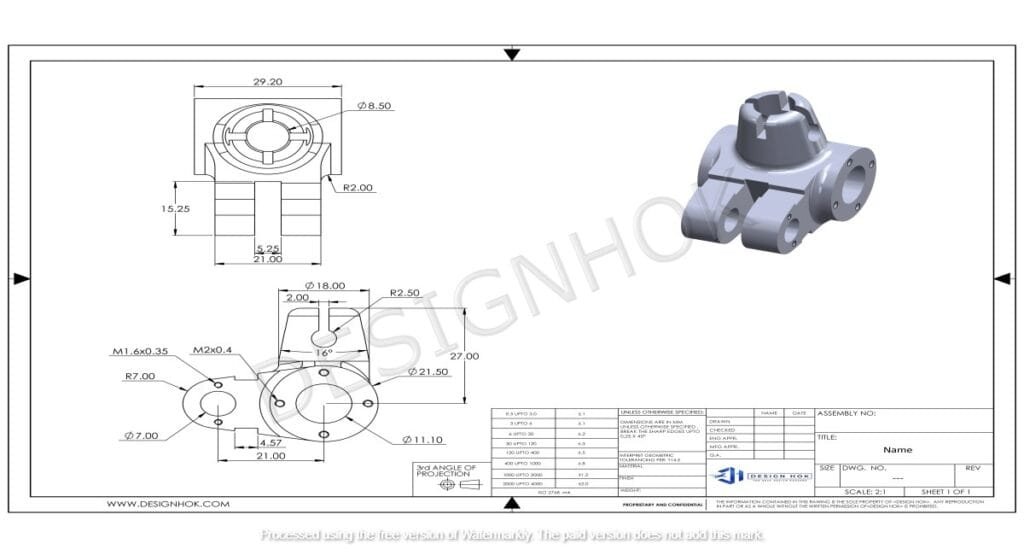
If you want to create 2D Technica drawings, then you depend on multiple views to display your designs. You have to display through multiple views, such as front, side, and top. This allows someone to get an idea of the object when they look at your drawing. Your designs can have sectional views or other views if they are complex.
Your views should be accurately positioned. You should also make sure that your views are consistent.
Step 6: Use Line Types and Layers
A technical drawing can either succeed or fail if the appropriate line types and layers are used. When you create 2D technical drawings, various line types convey distinct messages. For instance, dashed lines may indicate features that are hidden, whereas solid lines represent edges that are visible. You should make sure that the line types are according to industry standards.
Apart from that, your design can be better managed when you use layers. You can layer different elements like dimensions and geometry, for better clarity.
Step 7: Review
Your design must be reviewed for any inconsistencies or errors before finalizing. You can check that the drawing contains all necessary annotations and that all dimensions are correct. Moreover, check that the layout is simple to read. In a professional setting, you might ask a colleague to look over the drawing. This will ensure that you didn’t miss any mistakes.
Step 8: Finalize
You must export your drawing in the best format after reviewing it. You can export drawings as PDF, DWG, or on paper using a number of software programs. So, you must ensure that you use the format that suits your project.
Conclusion
You must have skill, precision, and some technical knowledge to create 2D technical drawings. You must follow the steps mentioned above to create accurate and professional 2d drawings. It does not matter whether you are in the field of engineering, manufacturing, or architecture, as 2D drawings are necessary for better communication. You have to practice and be detail-oriented to improve your technical drawings. This will make your work stand out.
FAQs:
1. Which is the best software for creating 2D technical drawings?
Some of the most widely used software for technical drawings are AutoCAD, DraftSight, and SolidWorks. You can use whichever suits your requirements, as every program has different functionality.
2. How do you differentiate between a 2D and a 3D drawing?
A 2D drawing shows objects in a flat or two-dimensional shape. However, a 3D drawing shows a realistic view of the object.
3. Why are dimensions important in 2D technical drawings?
You get precise measurements for construction or manufacturing with the help of dimensions. Your drawings will not provide the necessary information for making an object.
4. The types of views are shown in 2D technical drawings.
If the design is complex, then it includes a sectional view, but usually the drawings have top, front, and side views.
5. How can you make sure that my 2D drawing is accurate?
You must recheck your dimensions and alignments. You can use gridlines and other such software to maintain accuracy.


And, what here ridiculous?