Welcome to the world of 3D rendering! Whether you’re an aspiring digital artist, a designer exploring new creative avenues, or simply curious about how stunning visuals are brought to life, this guide is here to help you navigate your first steps into 3D rendering. In this blog, we will explain the basics of 3D Rendering for Beginners, discuss the tools and techniques that beginners should know, and provide practical tips to get you started on your journey with Designhok.
What Is 3D Rendering for Beginners?
At its core, 3D Rendering for Beginners is the process of converting three-dimensional models into -dimensional images or animations. Imagine taking a digital sculpture and illuminating it with light, applying textures to mimic real-world materials, and finally producing a realistic picture or video. That’s what rendering is all about—it transforms raw 3D data into a visual masterpiece.
Why Is 3D Rendering for Beginners Important?
3D rendering is a cornerstone of various industries, including architecture, game development, film, advertising, and product design. For beginners, learning 3D rendering opens up a world of possibilities:
- Visual Communication: It allows you to share ideas and concepts visually.
- Creative Expression: You can bring imaginative concepts to life in a realistic or stylized manner.
- Professional Growth: Skills in 3D rendering are highly sought after in many creative fields.
Getting Started: The Basics
Before diving into the software and complex workflows, it’s crucial to understand a few basic concepts and elements involved in 3D rendering.
1. The 3D Model
The starting point for any rendering project is the 3D model. This is the digital representation of an object, created using vertices, edges, and faces. Whether it’s a character, a building, or a simple everyday object, every model serves as the foundation of your scene.
2. Materials and Textures
Materials define how surfaces interact with light, and textures add detail to these materials. For example, a wooden table will have a material that mimics wood, complete with grain textures that give it a realistic look. Learning to apply and adjust materials is key to achieving photorealism.
3. Lighting
Lighting plays a critical role in setting the mood and realism of your scene. In 3D rendering, you can simulate various light sources such as the sun, spotlights, or ambient lighting. Understanding how light interacts with objects will dramatically enhance the quality of your renders.
4. Camera Setup
Just like in photography, the camera in a 3D scene determines the perspective and framing of your final image. Adjusting the camera’s position, angle, and focal length allows you to guide the viewer’s eye to the most important elements in your scene.
Choosing the Right Software for Beginners
There are many 3D rendering software options available, but for beginners, accessibility, ease of use, and community support are vital. Here are a few popular choices:
Blender
- Why It’s Great for Beginners: Blender is free and open-source, making it an excellent starting point. It offers a comprehensive suite of tools for modeling, texturing, lighting, and rendering.
- Key Features: Blender includes powerful render engines such as Eevee for real-time rendering and Cycles for ray-traced photorealistic rendering. It has a supportive community with countless tutorials, plugins, and forums to help you learn.
SketchUp (with Rendering Plugins)
- Why It’s Great for Beginners: SketchUp is known for its intuitive modeling interface, which is particularly appealing to those who are new to 3D design.
- Key Features: When paired with rendering plugins like V-Ray, SketchUp can produce high-quality, photorealistic renders. This combination is especially popular among architects and interior designers.
Other Notable Mentions
- Cinema 4D: Known for its user-friendly interface and powerful motion graphics capabilities.
- Autodesk Maya: While more advanced and with a steeper learning curve, it’s widely used in film and game industries.
For many beginners, starting with Blender is often the best choice due to its cost (free!) and the extensive resources available online.
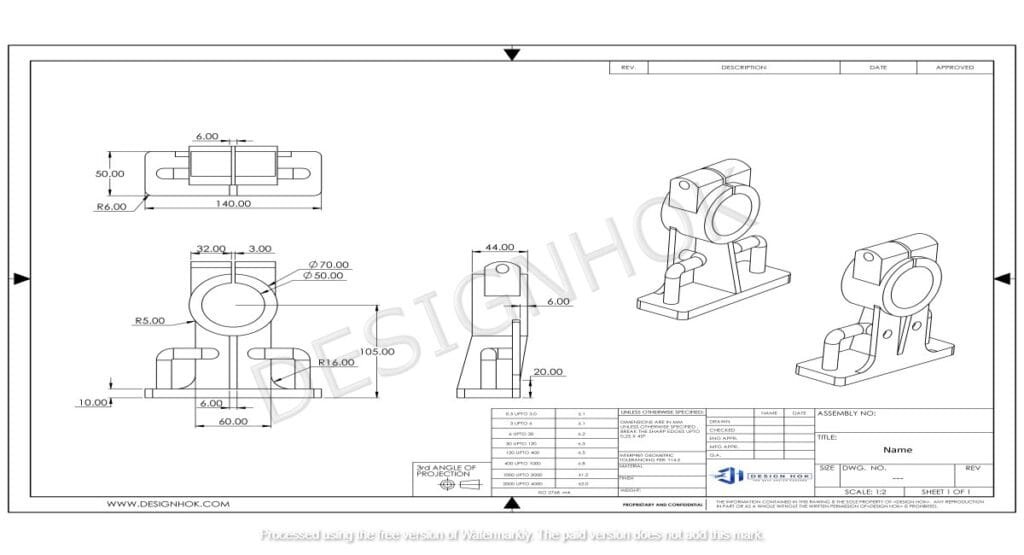
Step-by-Step: Your First 3D Rendering for Beginners Project
Let’s break down a simple workflow that beginners can follow to create their first render:
Step 1: Setting Up Your Workspace
- Download and Install: Choose your software (e.g., Blender) and install it on your computer.
- Interface Familiarization: Spend some time exploring the interface. Watch beginner tutorials to understand the layout, menus, and basic functions.
Step 2: Creating a Simple Model
- Basic Shapes: Start with basic primitives like cubes, spheres, and cylinders. Learn how to manipulate these shapes—scaling, rotating, and moving them around.
- Combining Shapes: Create a simple object, like a table or a chair, by combining and modifying basic shapes.
Step 3: Applying Materials and Textures
- Basic Materials: Apply a simple material to your model. Experiment with colors, reflectivity, and roughness.
- Textures: Import or create a basic texture (e.g., wood grain for a table) and apply it to your model to add detail.
Step 4: Setting Up Lighting
- Add Light Sources: Introduce one or more light sources into your scene. Experiment with different types of lights (point, sun, spot).
- Adjusting Light Settings: Modify the intensity and position of the lights to see how shadows and highlights affect your model.
Step 5: Camera Positioning
- Frame Your Scene: Position your camera to capture the best angle of your model. Adjust the focal length and depth of field to create a more dynamic composition.
- Preview: Use your software’s preview function to see how your scene looks before rendering.
Step 6: Rendering Your Scene
- Render Settings: Choose your render settings. For beginners, start with lower resolution and quality to speed up the process.
- Final Render: Hit the render button and wait for your software to process the image. Don’t be discouraged if it takes time—rendering can be resource-intensive.
Step 7: Post-Processing
- Editing: Use basic photo-editing software to adjust brightness, contrast, and color balance if needed.
- Feedback: Share your render on forums like Designhok or social media groups for constructive feedback.
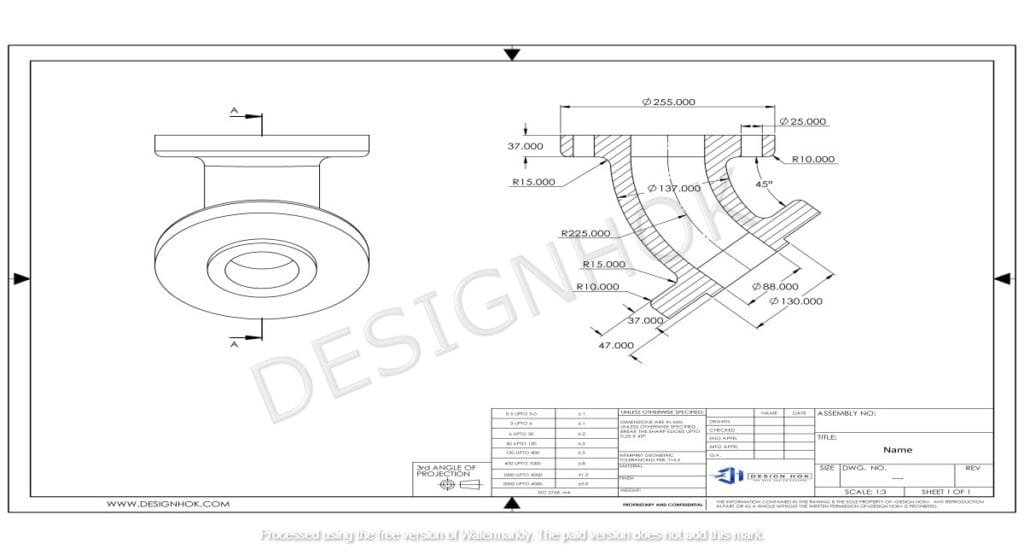
Tips for 3D Rendering for Beginners
- Learn Through Tutorials: There are countless free tutorials available online. Websites like YouTube, Blender’s official site, and community forums offer step-by-step guides.
- Practice Regularly: Like any creative skill, proficiency in 3D Rendering for Beginners comes with practice. Start with small projects and gradually take on more complex scenes.
- Join Communities: Engage with communities such as Designhok, Blender Artists, or SketchUp forums. Sharing your work and receiving feedback can significantly accelerate your learning.
- Experiment: Don’t be afraid to try new techniques. Experiment with different lighting setups, materials, and camera angles.
- Stay Patient: 3D rendering can be challenging, and there’s a learning curve. Celebrate small victories and keep experimenting to improve your skills.
Overcoming Common Challenges
The Learning Curve
Many beginners find the software interface and the vast array of tools overwhel
Rendering can be demanding on your computer’s hardware. If you’re experiencing slow render times, consider lowering your render settings or upgrading your hardware when you’re ready to invest more in your setup.
Creative Block
At times, you might feel stuck or uninspired. Use these moments to study other artists’ work, participate in online challenges, or take a break to recharge your creativity.
Frequently Asked Questions (FAQ)
1. What exactly is 3D rendering?
Answer:
3D rendering is the process of generating a 2D image or animation from a 3D model by simulating light, materials, and textures. It’s a crucial technique used in various industries to create realistic visualizations or artistic representations of digital objects.
2. Which 3D rendering software is best for beginners?
Answer:
Many beginners start with Blender due to its free and open-source nature, comprehensive toolset, and supportive community. However, options like SketchUp (with rendering plugins) and Cinema 4D are also popular depending on your specific interests.
3. Do I need a powerful computer for 3D rendering?
Answer:
While having a powerful computer can speed up rendering times and handle more complex projects, many 3D rendering software packages, like Blender, are optimized to run on a range of systems. Beginners can start with modest hardware and adjust settings to suit their computer’s capabilities.
4. How long does it take to learn 3D rendering?
Answer:
The time it takes to learn 3D rendering varies from person to person. With regular practice and the use of online tutorials, you can grasp the basics within a few weeks. Mastery, however, may take several months to years, depending on the depth of knowledge and complexity of projects you pursue.
5. Where can I find resources to learn 3D Rendering for Beginners?
Answer:
There are plenty of resources available online:
- YouTube Tutorials: Many channels offer step-by-step guides for beginners.
- Online Courses: Websites like Udemy, Coursera, and Skillshare provide structured courses.
- Community Forums: Engage with communities such as Designhok, Blender Artists, and SketchUp forums to share your work, ask questions, and receive feedback.
Conclusion
3D Rendering for Beginners may seem daunting at first, but with the right approach and resources, it can become an exciting and rewarding skill. By understanding the basic concepts—modeling, texturing, lighting, and camera setup—you can start creating your own digital masterpieces. Remember to take it one step at a time, practice consistently, and join communities like Designhok to learn from others and share your progress.
The journey into 3D rendering is filled with experimentation and continuous learning. Whether you’re designing for fun or building a professional portfolio, every project will sharpen your skills and fuel your creativity. Embrace the challenges, celebrate the small victories, and soon you’ll find yourself bringing your imaginative ideas to life in vibrant, realistic detail.




An outstanding share! I’ve just forwarded this onto a friend
who was doing a little homework on this. And he in fact ordered me dinner simply because I discovered it for him…
lol. So allow me to reword this…. Thank YOU for the meal!!
But yeah, thanks for spending the time to discuss this issue here on your
internet site.
It’s going to be finish of mine day, except before finish I am reading this impressive piece of writing to improve my experience.
Somebody necessarily help to make critically posts I might state.
That is the first time I frequented your website page and
to this point? I amazed with the analysis you made to create this actual publish amazing.
Magnificent process!