In the ever-evolving world of interior design, the ability to visualize your ideas before implementation is paramount. Enter 3D Rendering for Interior Design —a powerful tool that transforms your creative visions into detailed, realistic images. Whether you’re an experienced designer or just starting, this guide will walk you through the essential steps and best practices for creating stunning 3D Rendering in Interior Design that breathe life into your interior design projects.
Understanding 3D Rendering in Interior Design
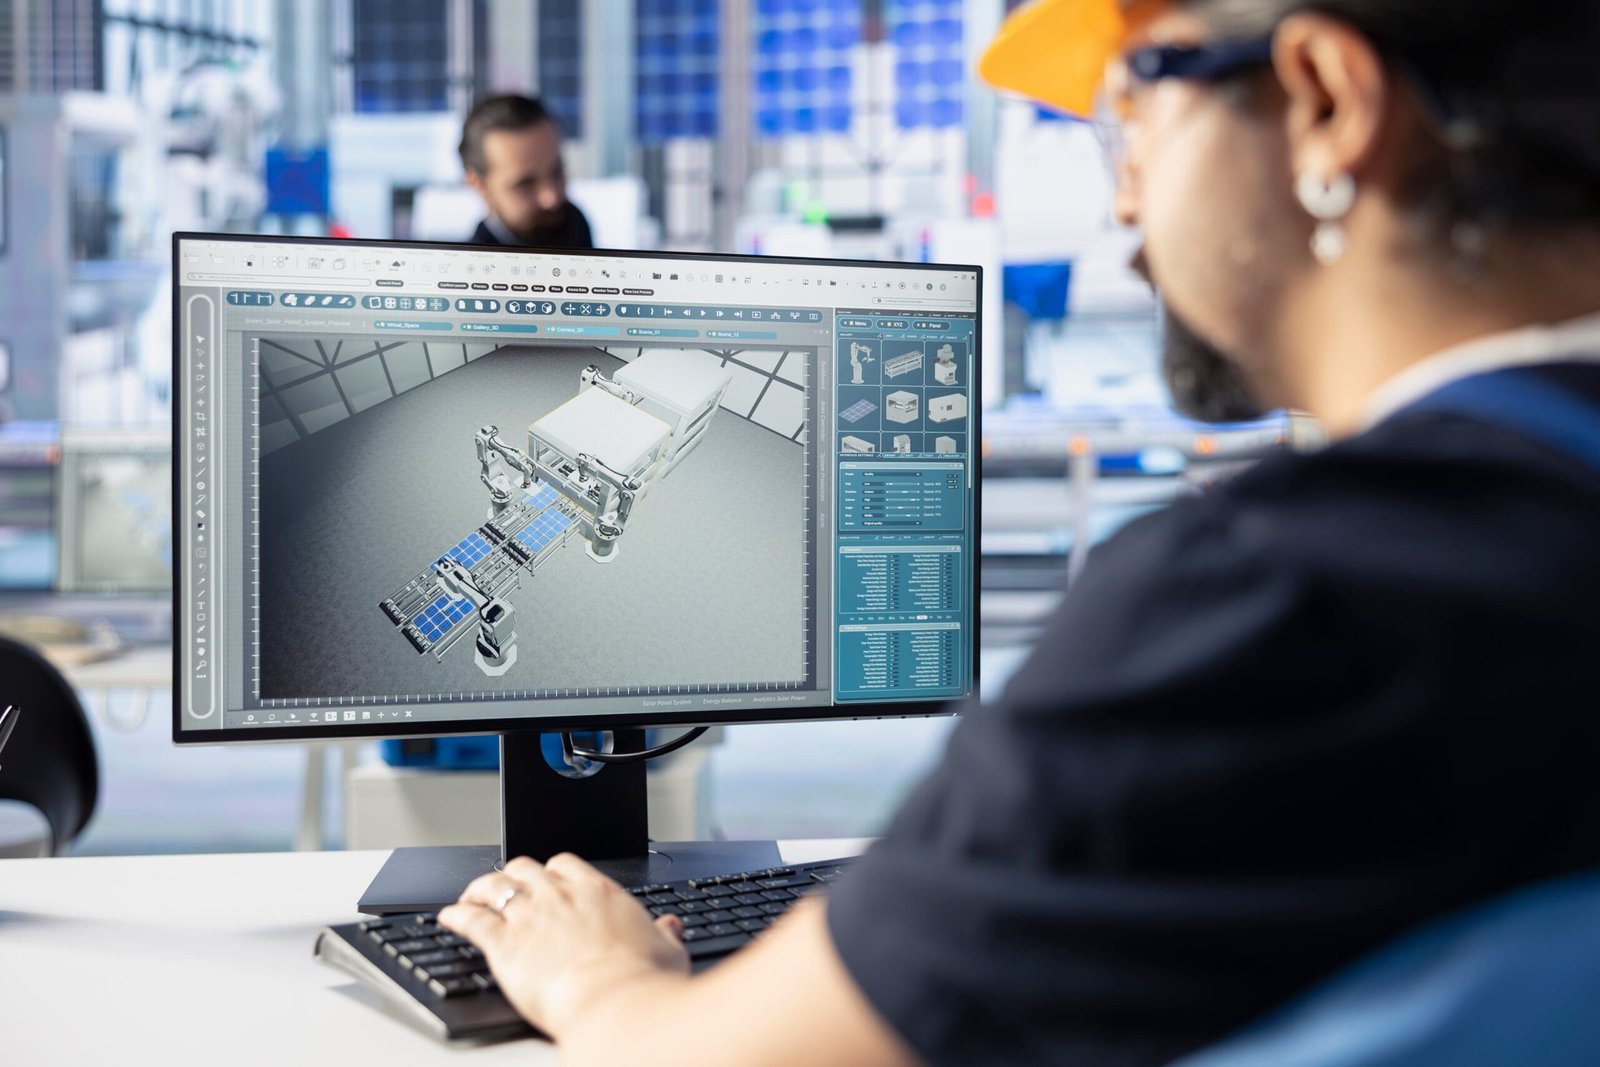
3D Rendering in Interior Design is the process of generating an image from a 3D Rendering for Interior Design using computer software. In interior design, it allows you to create photo-realistic representations of spaces, offering clients a tangible preview of how their environments will look. This visual tool helps in planning layouts, selecting color schemes, testing lighting scenarios, and even exploring material textures before any physical work begins.
Why Mastering 3D Rendering for Interior Design Matters
- Enhanced Visualization: Clients can see the final look of a space, reducing miscommunication and aligning expectations.
- Efficient Decision Making: Experiment with various design elements like furniture placement, lighting, and materials without the need for physical prototypes.
- Marketing Edge: High-quality renderings serve as compelling portfolio pieces that can attract potential clients.

Getting Started with 3D Rendering for Interior Design
1. Choose the Right Software
Selecting the right software is crucial. Popular options include:
- SketchUp: Great for beginners due to its user-friendly interface.
- 3ds Max: Preferred by professionals for its advanced modeling and rendering capabilities.
- Blender: A free, open-source alternative that has grown in popularity among designers.
- Revit: Ideal for those focusing on architectural and structural details alongside interior elements.
Each software comes with its own unique set of tools and learning curves. Assess your project needs and budget before making a choice.
2. Gather Your Resources
Before you start modeling, compile all the necessary resources:
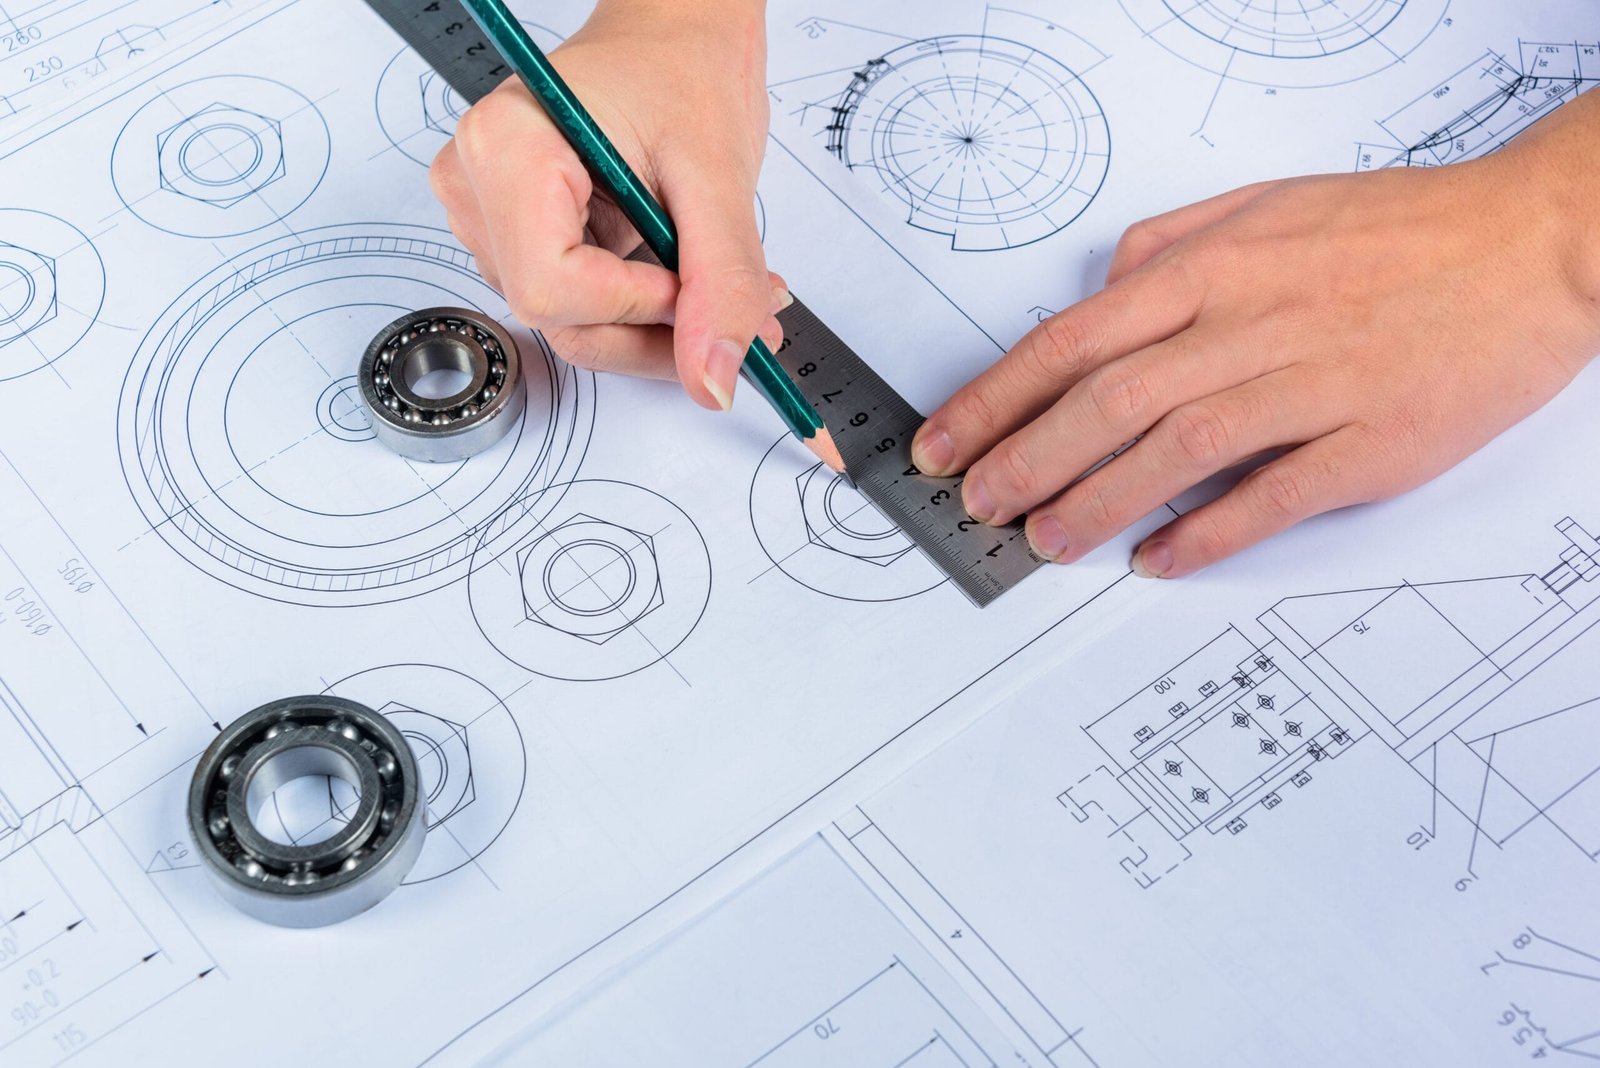
- Floor Plans: Detailed drawings help in accurately laying out the space.
- Inspiration Images: Collect photos and mood boards to guide the design style.
- Material Samples: Swatches of fabrics, textures, and colors provide a reference for realistic rendering.
3. Master the Basics of 3D Rendering for Interior Design
Begin by creating the basic structure of the interior space:
- Walls, Floors, and Ceilings: Establish the boundaries and dimensions.
- Doors and Windows: Integrate these elements for a realistic layout.
- Furniture and Fixtures: Add key pieces to set the scene. Many software platforms offer libraries of pre-made models to save time.
Focus on accurate measurements and proportions. Mistakes at this stage can lead to discrepancies later in the rendering process.
4. Lighting: The Game Changer
Lighting plays a critical role in 3D Rendering in Interior Design. It can drastically alter the mood and perceived space. There are three primary lighting types:
- Ambient Lighting: Provides overall illumination.
- Task Lighting: Focuses on specific areas like workspaces or reading corners.
- Accent Lighting: Highlights particular design elements or features.
Experiment with different lighting scenarios—natural daylight, warm artificial lights, or dramatic shadows—to enhance the mood of your scene.
5. Texturing and Material Application
Texturing adds depth and realism to your render. Consider the following:
- Material Properties: Adjust glossiness, roughness, and reflectivity to mimic real-world surfaces.
- High-resolution textures: Use high-quality images to avoid pixelation, especially when rendering large images.
- Bump and Normal Mapping: These techniques simulate surface details like wood grain, fabric weaves, and stone textures without increasing model complexity.
6. Rendering Settings and Techniques
With the scene modeled and textured, it’s time to render:
- Resolution: Higher resolutions result in more detailed images but require more computing power.
- Render Engine: Choose an engine that balances quality and speed. Some popular ones include V-Ray, Arnold, and Cycles (for Blender).
- Sampling and anti-aliasing: Adjust these settings to reduce noise and create smoother edges.
- Post-Processing: Tools like Photoshop or Lightroom can enhance colors, contrast, and overall aesthetics after rendering.
Experiment with these settings to achieve the perfect balance between quality and rendering time.

7. Incorporate Realism with Details
Adding small details can significantly elevate the realism of your render:
- Decor Elements: Include items such as plants, books, artwork, and textiles.
- Imperfections: A slightly worn floor or subtle scuff marks on walls can add authenticity.
- Human Touch: Incorporate silhouettes or shadows of people to give scale and liveliness to the space.
Best Practices for 3D Rendering for Interior Design Success
Stay Organized
Keep your files and resources organized. Label layers, group objects logically, and maintain a backup system to prevent data loss.
Iterate and Seek Feedback
3D Rendering for Interior Design is an iterative process. Regularly review your work and seek feedback from peers or clients. Small adjustments can lead to substantial improvements in the final output.
Keep Learning
Technology and software capabilities evolve rapidly. Stay updated with the latest trends and techniques by attending webinars, joining online forums, and participating in workshops.
Optimize for Performance
Large scenes can strain computer resources. Optimize models by reducing polygon counts and using proxies for detailed objects. This ensures faster rendering times without compromising quality.
Real-World Application: Bringing a Modern Living Room to Life
Imagine designing a modern living room with an open floor plan, minimalist furniture, and abundant natural light. Here’s how you could approach it:
- Blueprint and Layout: Begin with a detailed floor plan, marking areas for seating, dining, and entertainment.
- 3D Modeling: Build the space with accurate dimensions. Add elements like large glass windows to invite natural light.
- Texturing: Apply textures that reflect modern materials—smooth concrete, polished wood, and soft textiles.
- Lighting: Simulate morning sunlight streaming in, complemented by subtle ambient lighting for the evening.
- Details: Add decorative pieces, such as a stylish rug, a statement art piece, and indoor plants.
- Rendering: Fine-tune the settings, perform a test render, and make necessary adjustments before producing the final image.
The result is a compelling, realistic visual that communicates the essence of the design to your client.
FAQ
Q1: What is 3D rendering in interior design?
A: 3D rendering in interior design is the process of creating realistic images of interior spaces using computer software. It allows designers to visualize and modify their designs before physical implementation.
Q2: Which software is best for beginners in 3D Rendering for Interior Design?
A: For beginners, SketchUp is highly recommended due to its intuitive interface and extensive online resources. Blender is another excellent free option that is gaining popularity.
Q3: How can lighting affect a 3D render?
A: Lighting significantly impacts the mood, depth, and realism of a render. Proper use of ambient, task, and accent lighting can enhance textures and create realistic shadows, making the space feel more natural.
Q4: What are some key tips for improving render quality?
A: Use high-resolution textures, pay attention to material properties, optimize lighting settings, and include small details that add authenticity. Also, utilizing post-processing techniques can enhance the final image.
Q5: Can I render a 3D model on a low-spec computer?
A: While it is possible, using a low-spec computer may lead to longer rendering times and lower quality outputs. Optimizing models and using lower resolution settings can help, but investing in better hardware or cloud rendering services might be necessary for more complex projects.
Q6: How do I get started with 3D rendering if I’m new to it?
A: Start with user-friendly software like SketchUp or Blender, follow online tutorials, and practice by creating simple models. Gradually, as you gain confidence, you can explore advanced tools and techniques.
Conclusion
3D rendering for interior design is not just a technical process—it’s an art that bridges the gap between imagination and reality. By mastering the basics of modeling, lighting, and texturing, and continuously refining your skills, you can create immersive and realistic visualizations that captivate clients and elevate your design projects.
For DesignHok, embracing 3D rendering opens up a world of possibilities. It enhances communication, streamlines the design process, and ultimately results in spaces that are as functional as they are beautiful.


