Description:
Explore the essential role of 3D modeling in product development. This in-depth guide covers everything from concept to prototype, explaining the tools, techniques, and benefits that help bring innovative products to life.
Introduction
In the ever-evolving landscape of product design and manufacturing, 3D Modeling for Product Development has emerged as a powerful tool that transforms creative ideas into tangible, functional products. It bridges the gap between imagination and physical reality by offering a visual and structural representation of products before they are manufactured. Whether you’re a startup launching a new gadget or a design firm refining your latest invention, 3D modeling is at the heart of successful product development.
This comprehensive guide will walk you through the importance of 3D modeling, the tools used, step-by-step processes, and how it benefits various stages of product development.
What is 3D Modeling for Product Development?
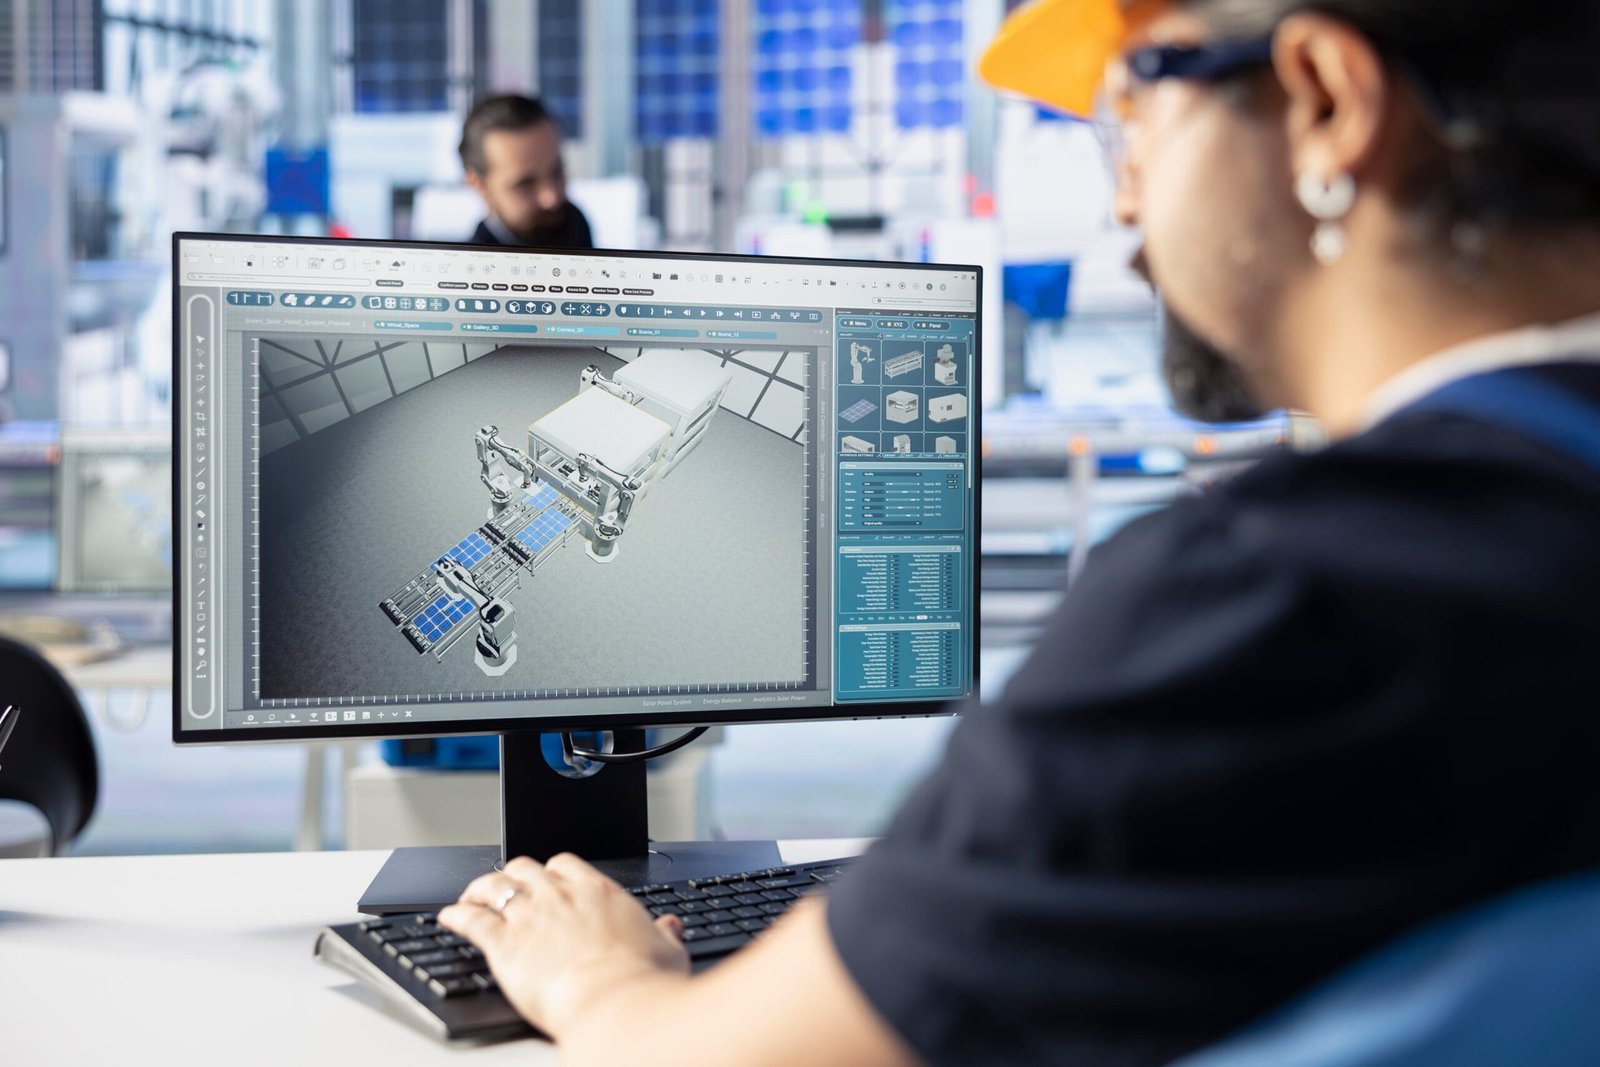
3D Modeling for Product Development is the process of creating a three-dimensional digital representation of an object using specialized software. These models simulate the physical appearance, geometry, and behavior of the final product, enabling designers and engineers to visualize, test, and improve their designs before actual production.
In the context of 3D Modeling for Product Development helps:
- Conceptualize new product ideas
- Create virtual prototypes
- Simulate functionality and performance
- Communicate ideas visually with teams or clients
- Prepare for 3D printing or manufacturing

Key Stages of 3D Modeling for Product Development
1. Idea Generation and Conceptual Sketching
Every great product starts with an idea. This early phase involves brainstorming, sketching, and visual thinking. While the initial sketches might be done by hand or digitally, these are the foundation of the 3D modeling process.
2. Choosing the Right Software
There are various 3D modeling tools, and the choice depends on the complexity of the product and the desired outcome. Some popular software includes:
- Blender – Free, flexible, ideal for concept design and visualization.
- SolidWorks – CAD-based, used for mechanical components and assemblies.
- Fusion 360 – A cloud-based tool used for modeling, simulation, and CAM.
- TinkerCAD—Beginner-friendly and web-based for simple models.
- AutoCAD—Widely used in engineering and architecture.
At DesignHok, we use a mix of these tools depending on client needs, product complexity, and the target manufacturing method.
3. Creating the 3D Model
This stage involves translating your sketches or ideas into a digital form. Designers use geometric shapes (primitives) such as cubes, spheres, and cylinders to build more complex structures. There are two primary modeling methods:
- Parametric Modeling: Uses dimensions and parameters, best for parts with specific mechanical requirements.
- Freeform Modeling: More artistic and flexible, ideal for consumer products or aesthetic designs.
The goal here is to ensure every detail—from curves and holes to screw slots and mechanical fittings—is accurately represented.
4. Applying Materials and Textures
Though optional in some engineering-focused workflows, materials and textures can simulate how the product will look in real life. This includes colors, finishes (matte, glossy, metallic), and transparency levels. For consumer products, this step is crucial for marketing and visualization.
5. Simulation and Analysis
Before prototyping, designers often test the model using simulation tools. These can simulate:
- Mechanical stress and strain
- Thermal behavior
- Movement of parts or assemblies
- Fit and function with other components
Simulation ensures that the design performs as expected under real-world conditions, helping identify flaws early.
6. 3D Rendering and Visualization
Using rendering tools, you can create realistic images of the product to showcase it to stakeholders, clients, or investors. This step is essential for presentations, marketing, and client approvals.
7. Prototyping and Testing
Once the model is finalized, it can be used for 3D printing or CNC machining to create a physical prototype. This allows for hands-on testing, ergonomic checks, and functional validation.
8. Final Adjustments and Manufacturing Prep
Based on prototype feedback, designers might make final changes to the 3D model. Once finalized, the model is exported in formats compatible with manufacturing tools (like .STL, .STEP, or .OBJ), and production can begin.
Benefits of 3D Modeling in Product Development
✔ Visual Clarity
A Complete Guide to 3D Modeling for Product Development offers a clearer, more accurate representation than 2D sketches, helping teams and clients visualize the end product.
✔ Faster Iteration
Digital models can be modified quickly, allowing for rapid design improvements without starting from scratch.
✔ Cost Efficiency
3D Modeling for Product Development reduces the need for multiple physical prototypes, saving time and material costs.
✔ Improved Accuracy
Models can be measured, simulated, and checked for errors digitally, minimizing production issues.
✔ Enhanced Collaboration
3D models can be shared with stakeholders, clients, and manufacturers globally, improving communication and alignment.
How DesignHok Uses 3D Modeling
At DesignHok, 3D modeling is a core service used in our mechanical design, product visualization, and prototyping projects. Our team follows a structured workflow that starts with idea capture and ends with production-ready models.
Here’s what makes our approach different:
- Tailored software choices for each client
- Industry-standard file outputs for manufacturers
- Integration with simulation and rendering tools
- Detailed mechanical assemblies with technical drawings
- Collaboration with prototyping partners for seamless handoff
Whether you’re building a handheld gadget, a machine part, or an industrial product, our design process ensures precision and innovation every step of the way.
Tips for Effective 3D Modeling in Product Design
- Start simple and refine later. Focus on the core shape before adding details.
- Keep scale and proportion in mind. Always model in real-world units.
- Use reference images. These help maintain accuracy and design consistency.
- Name your layers and components. Organization is key for complex assemblies.
- Use version control. Save different stages of your model to track changes.
Conclusion
3D Modeling for Product Development is more than just a design tool—it’s the backbone of modern product development. From initial sketches to detailed prototypes, it enables faster innovation, smarter testing, and more successful product launches. With powerful software and skilled designers, businesses can turn concepts into real-world products that make a difference.
At DesignHok, we combine technical expertise with creative design to deliver 3D modeling solutions that power product development from start to finish. Whether you need a prototype, a visual presentation, or a production-ready model, we’re here to bring your ideas to life.
FAQs: Guide to 3D Modeling for Product Development
Q1: What industries use 3D modeling for product development?
Industries like consumer electronics, automotive, aerospace, healthcare, furniture, and industrial machinery all use 3D modeling to design and develop products.
Q2: Can I create a product prototype directly from a 3D model?
Yes, 3D models can be used for rapid prototyping via 3D printing, CNC machining, or injection molding preparation.
Q3: What’s the best 3D modeling software for beginners?
TinkerCAD and Fusion 360 are great for beginners. For more advanced users, SolidWorks or Blender offer deeper capabilities.
Q4: How long does it take to create a 3D model for a product?
It depends on the complexity. Simple models can take a few hours, while detailed mechanical assemblies may take several days.
Q5: Is 3D modeling only for visual design?
No, it’s also used for technical accuracy, functionality testing, prototyping, and manufacturing preparation.
Q6: What file formats are commonly used for 3D modeling?
Common formats include STL, OBJ, STEP, IGES, and FBX depending on the application—3D printing, rendering, or manufacturing.
Q7: Can I update my 3D model after testing the prototype?
Yes. 3D models are editable, so designers often revise them based on testing feedback before final production.


