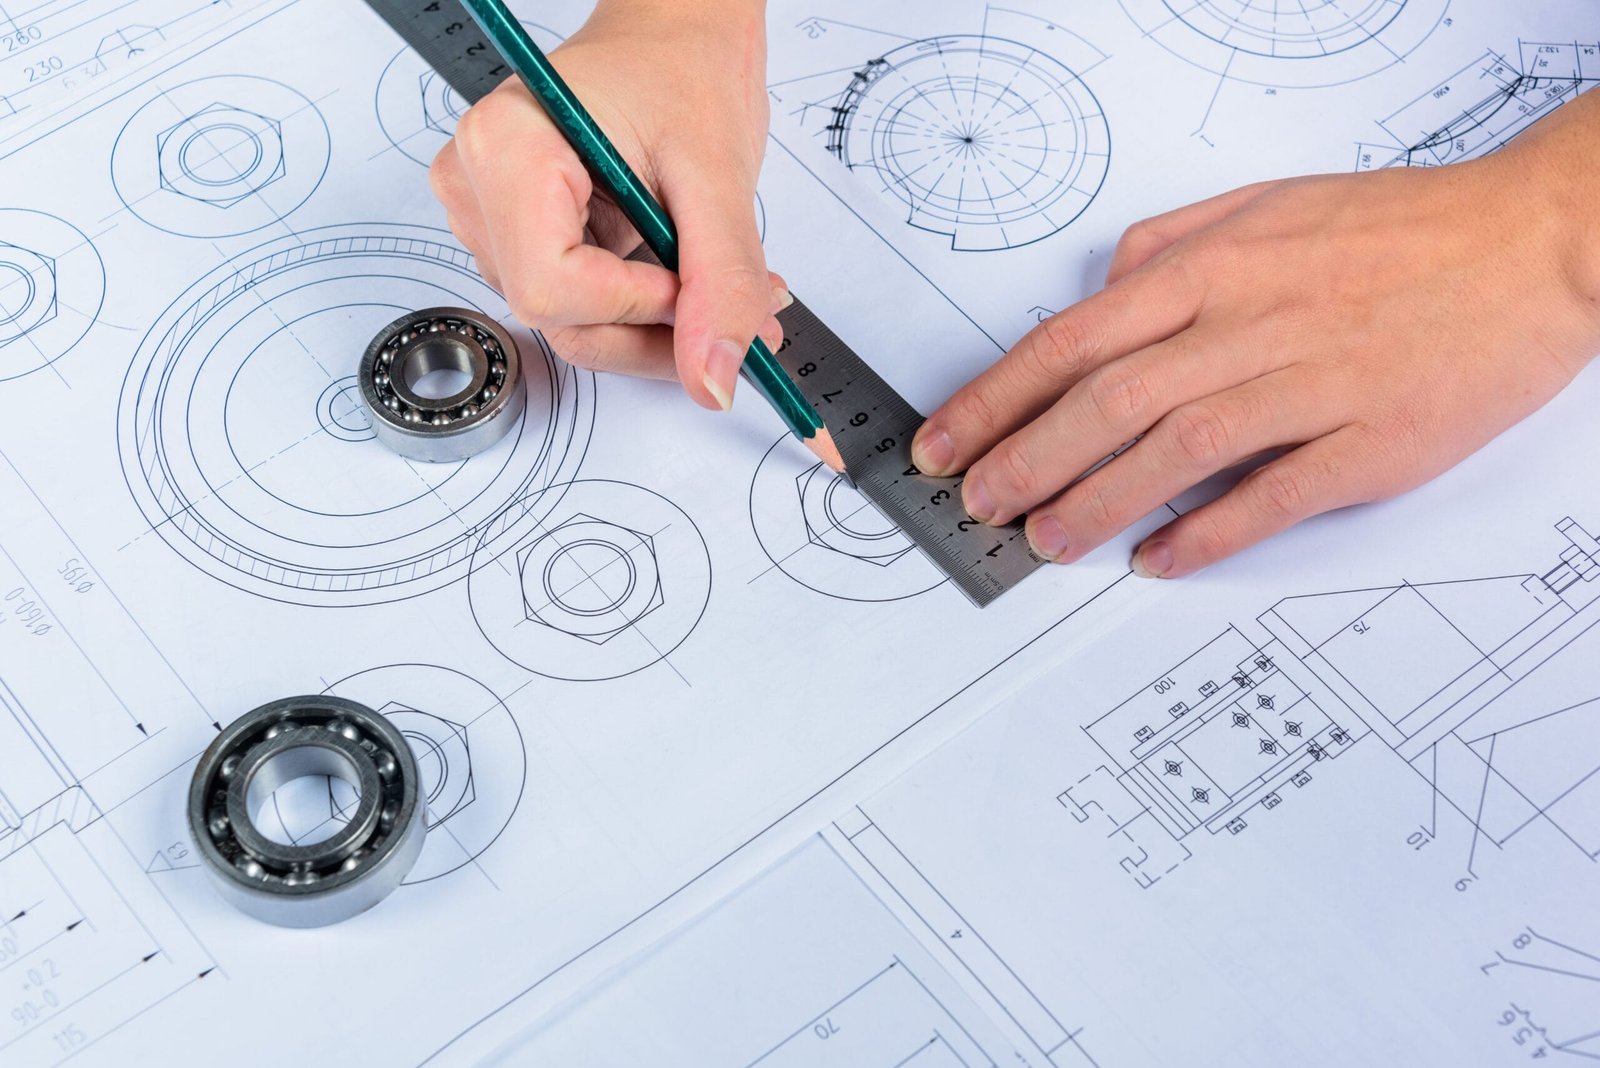
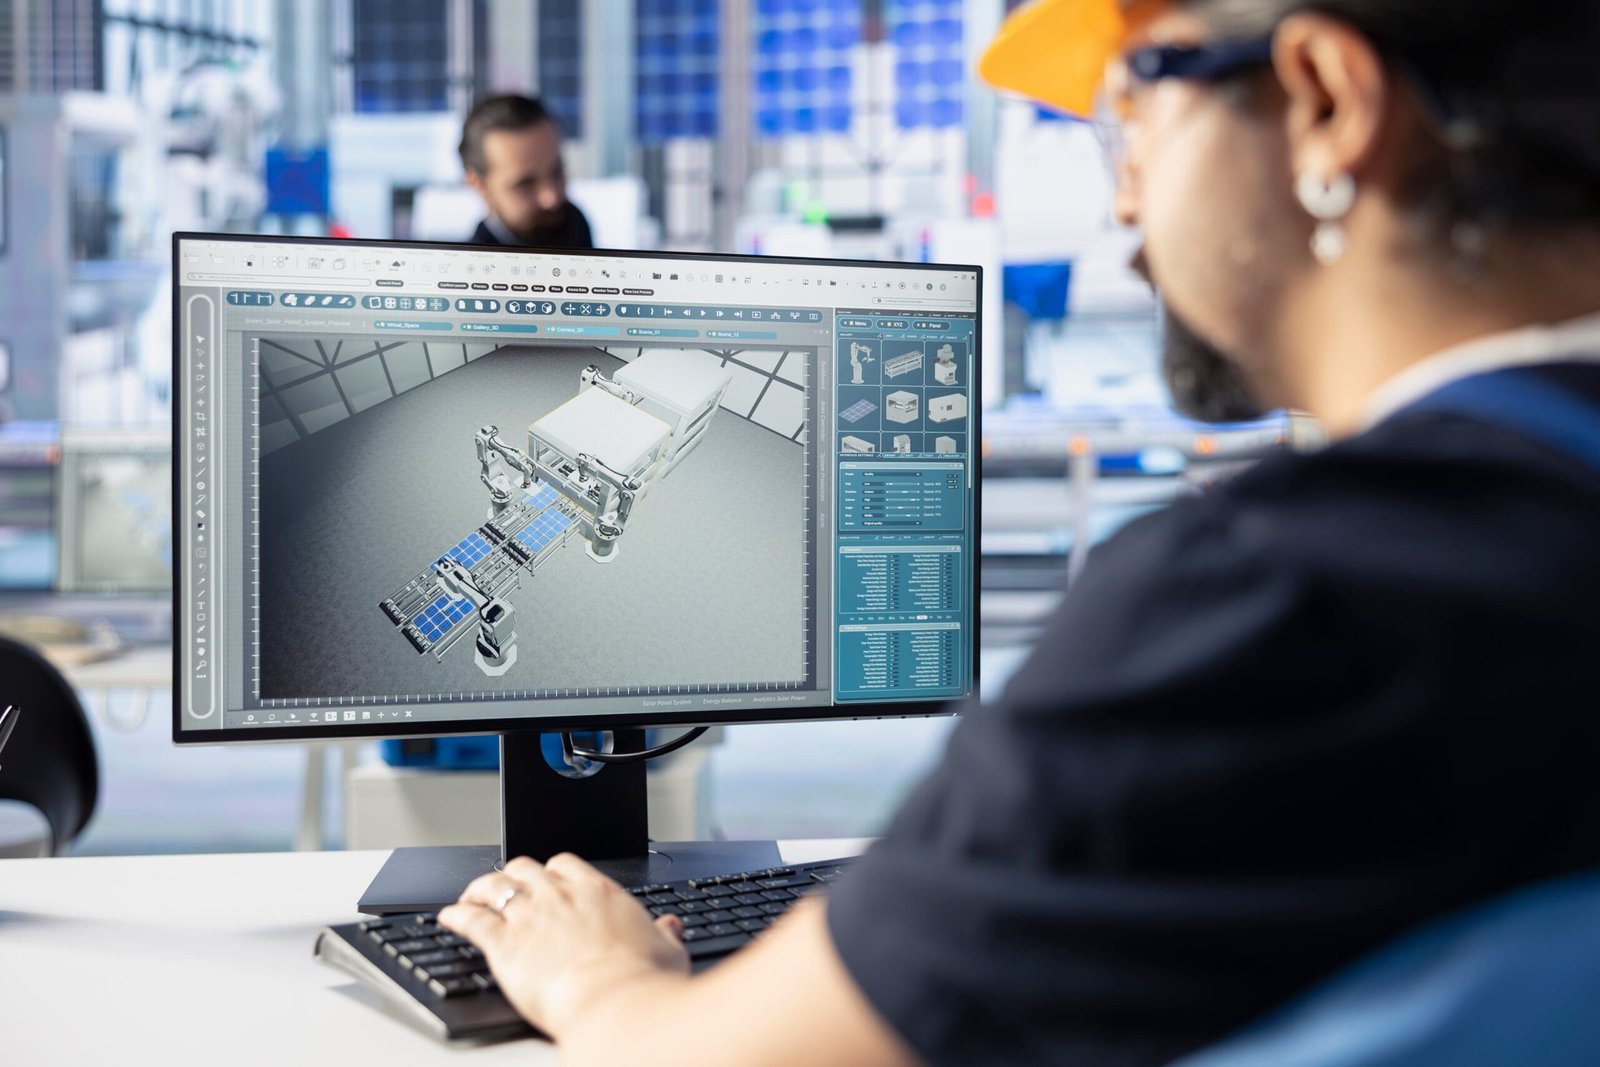
2D drawing techniques are important to convert your designs into clear plans. Some of the methods of 2D drawings are sketching to technical drafting. We will provide you with techniques for effective communication in design, engineering, and other projects.
What is the method for doing 2D drafting?
You can create a flat, 2d image showing the size, shape, etc. So, engineers and designers can use these drawings. These drawings help in design, engineering, and other fields. So, they provide an idea of the concept. It is not like 3D models, which give you complete and detailed information. Therefore, it helps designers to show significant details and measurements.
2D drawings are popular in many fields because they offer simplicity and clarity. This makes them best for initial stages of planning, communicating ideas, and producing technical documentation. They act as the foundation on which more detailed design and production stages are made.
Types of 2D Drawing Techniques
In order to make accurate drawings, designers and engineers use a number of 2D Drawing Techniques. All of them depend on the stages of the project. Some of the most important types include:
1. Freehand Sketching
Most drawing processes begin with freehand sketching. So, designers are able to turn their ideas into reality. You have to create basic lines and shapes to show how an object works. Now, designers can grasp their ideas instantly and explore different views. Apart from that, these sketches better explain the design.
Best Way to Do Freehand Sketching:
- We can use light lines to establish basic shapes and outlines.
- Focus on proportions and layout before refining details.
- Practice regularly to improve line quality and control.
2. Orthographic Projection
Orthographic projection involves creating an object from different angles. This method is quite common. You can get an idea of the exact dimensions and structure of an object.
Benefits of Orthographic Projection:
- You are able to keep accurate measurements across all views.
- You can see an object clearly, avoiding the need for multiple 3D views.
- Allows you to display complex mechanical parts or architectural details
3. Isometric Drawing
Isometric drawing helps you draw a 3D object on a 2D paper. You have to create an object at an inclined position or a 30-degree angle. So, it provides you with a mix of depth, length, and height. It is famous in engineering, product design, and technical illustration.
Method to Create an Isometric Drawing:
- You have to start with a grid or set of guidelines to keep a 30-degree angle.
- You can make parallel lines to show depth and structure.
- You can also use line thickness or shading to improve the 3D effect.

4. Hatching and Cross-Hatching
In order to give a 2D drawing a sense of texture. You can draw parallel lines, but intersecting is done by cross-hatching. These methods are valuable to explain materials, textures, and shadows.
Advantages of Hatching and Cross-Hatching:
- You are able to improve the look of a drawing without adding color.
- This method helps you to differentiate between sections and materials.
- It adds depth, and your 2D surfaces seem real.
5. Dimensioning and Annotations
You can add dimensions and annotations to understand technical drawings. These give you the important details for accurate measurements. You get precise measurements of an object for understanding length, angles, and distances. However, tells in detail about the object.
Rules of Dimensioning:
- Your font sizes and line thicknesses must be clear.
- You should keep your measurements, numbers, and lines outside the main drawing. This prevents the drawing from looking messy.
6. Cross-Sections and Cutaways
You get an internal view of an object through a cross-section. This is done by slicing the object. You are able to see hidden details and components. So, it is useful for mechanical designs.
Steps for Creating Cross-Sections:
You get an internal view of an object through a cross-section. This is done by slicing the object. You are able to see hidden details and components. So, it is useful for mechanical designs.
Cross-Sections:
- Label internal parts for easy identification.
- Determine the section plane to “cut” through the object.
- Represent the cut surfaces with hatching to distinguish them from the rest.
7. Scaling
Scaling is very important in 2D drawings. This is because you have to make sure that the object fits within the paper size. So, it is used to create scaled versions of huge objects. It is mostly used in engineering. You can fit it on standard sheets to ensure accuracy.
Advantages of Scaling:
- You can show large designs on drawing sheets.
- It makes sure that your objects are represented accurately.
- You have to ensure easy comparison between components.
8. Line Weight Variation
Your drawing looks more 3d by changing the thickness of the drawing. You can highlight important areas and boundaries with thick lines. Thinner lines help to while thinner lines depict secondary details. This method is useful to attract the viewer to the important areas.
Here are some line weight variations:
- Emphasizes primary shapes and structures.
- Distinguishes overlapping elements or hidden edges.
- Enhances the overall readability of complex drawings.
9. Perspective Drawing
You can see how objects look in reality with the help of perspective drawing. However, it is considered a 2D technique despite the depth it adds. It is perfect for creating illustrations for buildings.
The following are the steps to follow for Perspective Drawing:
- Pick a vanishing line where parallel lines converge.
- Draw lines that get closer to each other to create depth.
- A more realistic touch can be given by adding light and shadow.
Benefits of 2D Drawing Techniques
You get several benefits in design and engineering.
1. Clarity: These provide you ideas in a simple way and so teams can easily understand.
2. Cost-effective: You need fewer resources for 2D designs as compared to 3D models. So, it is an economical option.
3. Adaptability: You can do quick editing and changes in 2D designs. So, they are best for iterating on ideas and making designs better.
Conclusion
In order to become an expert in 2D drawing, you need someone involved in design, engineering, and other fields. You start by drawing a simple sketch and then turn it into accurate orthographic projections. You have to begin from basic sketching to precise orthographic projections. These 2d drawing techniques provide useful ways to discuss ideas accurately.
FAQs
1. What is the importance of the 2D design technique in design?
2D technology provides a clear, cost-effective way to communicate design ideas and specifications. So, it makes cooperation easier.
2. How can you compare an isometric drawing and a perspective drawing?
The isometric drawing shows depth at an angle without disappearance points. On the other hand, perspective drawing mimics how the eyes look at the depth using the disappearance points.
3. Can you tell the softwares for creating 2D drawings?
AutoCAD, SketchUp, and Adobe Illustrator are popular tools for making accurate 2D pictures.
4. Can you do hatching for digital designs?
Yes, most digital drawing software contains equipment for hatching and cross-hatching to add depth and texture.
5. Is freehand sketching still useful with digital tools?
Absolutely. Freehand is valuable to consider sketching ideas and digitally creating thick drafts before refining designs.


